Ever wonder how to capture that stunning glow in your photos? Mastering backlighting can do just that! Start by placing your subject between the camera and a light source—like the sun—to create a beautiful halo effect. To keep everything crisp, use a sturdy tripod and a reflector to bounce light back for added brightness. You might feel like a wizard when you see how diffusers can soften harsh light or how adjusting camera settings makes details pop! Don’t forget safety—check your footing and avoid direct sunlight. With practice and patience, you’ll discover even more enchanting tricks ahead!
Important Highlights
- Position subjects between the camera and light source for optimal backlighting effects.
- Use a camera with good dynamic range to handle contrasts efficiently.
- Employ reflectors and diffusers to balance and soften light on subjects.
- Ensure a distraction-free environment for cleaner backlit compositions.
- Continuously experiment with light management to refine photography skills.
Understanding Backlighting Basics

Backlighting can transform an ordinary photograph into something truly enchanting, and understanding the basics is your first step to mastering this technique.
Imagine capturing a sunrise where the light dances around your subject, creating a glowing halo. You need to position your subject between the camera and the light source, like the sun, to achieve this magical effect.
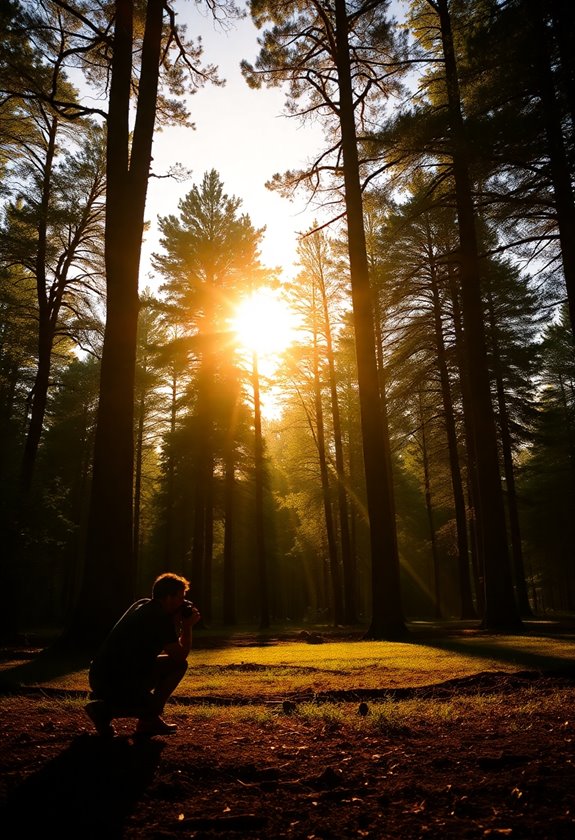
It’s essential to be aware of your surroundings, ensuring there’s nothing distracting in the background. Safety matters, so don’t stare directly into the sun, and always be mindful of your footing if you’re outside.
When I first tried backlighting, I accidentally included a trash can in the frame—oops!
Keep experimenting, and soon you’ll create stunning backlit photos safely and beautifully.
Selecting the Right Equipment

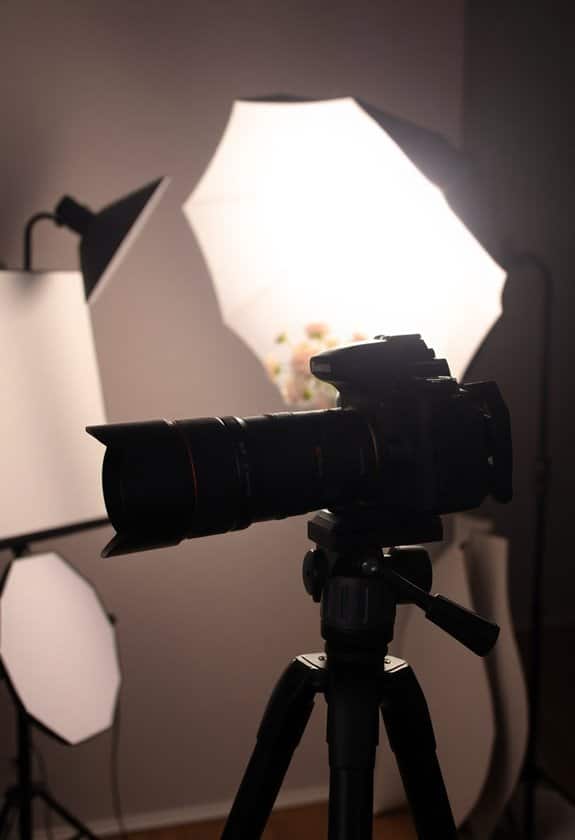
To truly excel in capturing backlit photographs, choosing the right equipment is paramount. When I first started, I thought any camera would do—big mistake! You’ll want a camera with a good dynamic range to handle contrasts between light and shadow. Trust me, it makes all the difference.
A sturdy tripod keeps everything steady; safety first, no one wants a toppled camera! If you’re feeling fancy, a reflector can bounce some light back onto your subject, adding a magical touch. Don’t forget a lens hood to reduce glare. One time, I didn’t use one, and it looked like the sun exploded in my shot!
Keep your gear in a durable bag. It’s like your camera’s cozy little home, keeping everything safe and sound. Additionally, using a polarizing filter can enhance color saturation and reduce glare, making your backlit images even more striking.
Positioning Your Subject

When setting up for backlit photography, the position of your subject is essential. Imagine them standing in front of a bright, beautiful sunrise.
You’ll want to position them so the light creates a halo effect, making them pop against the glowing background. Trust me, I’ve learned this the hard way! If your subject is too close to the light, they might become a silhouette, like a shadowy mystery figure.
Keep them a few steps back to capture their features safely. Make sure they feel comfortable, avoiding any awkward poses or precarious spots. Safety first!
Once, I saw a friend almost trip on uneven ground. Always check the area for stability, so your subject can shine without any mishaps.
Managing Light Intensity

You can’t overlook the importance of managing light intensity in backlit photography. Imagine you’re capturing a friend’s portrait on a sunny day, but the bright sun makes everything look washed out. It’s like trying to enjoy a movie with the lights on!
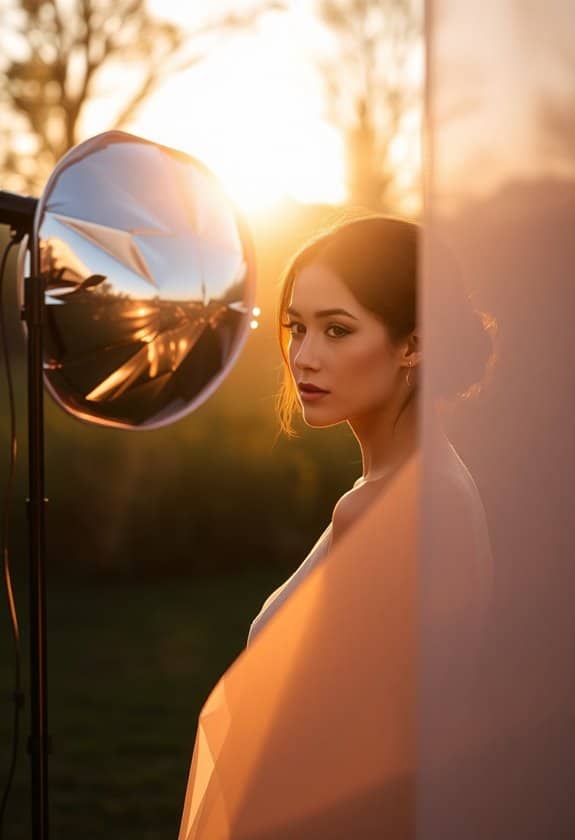
To keep things safe and balanced, you might want to use diffusers or reflectors. These tools help soften the harsh light, making your subject stand out without overwhelming the image. Think of them as sunglasses for your camera, providing protection and clarity.
When I first started, I often ended up with shadowy disasters. But learning to control light intensity made all the difference. Now, instead of feeling blinded by light, I’ve got the perfect glow every time.
Adjusting Camera Settings

Amidst the intricacies of backlighting, adjusting your camera settings becomes a pivotal skill.
You’ll need to play with your exposure settings to guarantee your subject isn’t lost in shadows or washed out by light. Start with the ISO—keep it low to prevent graininess, unless you’re in a darker environment.
Use your aperture to control depth; a wider one can blur the background beautifully. Shutter speed also matters; a faster speed helps freeze motion, which is handy if your subject’s on the move.
One time, I forgot to adjust my white balance and ended up with a blue-faced friend in a warm sunset scene—oops!
Utilizing Reflectors and Diffusers

Reflectors and diffusers play an essential role in mastering backlighting techniques.
Imagine you’re outside, and the sun’s shining a bit too bright, making your subject look like a silhouette. A reflector is your best friend here. It bounces light back onto your subject, balancing the brightness and keeping everything safe for your eyes. You can use a white reflector for a soft glow or a silver one for something brighter.
On the other hand, diffusers help soften harsh light. They act like a gentle cloud, spreading light evenly, which prevents sharp shadows and glares that might hurt your eyes.
Once, I used a DIY diffuser made from a bedsheet—worked like a charm! Remember to position them carefully for the best effect.
Creating Silhouettes Effectively

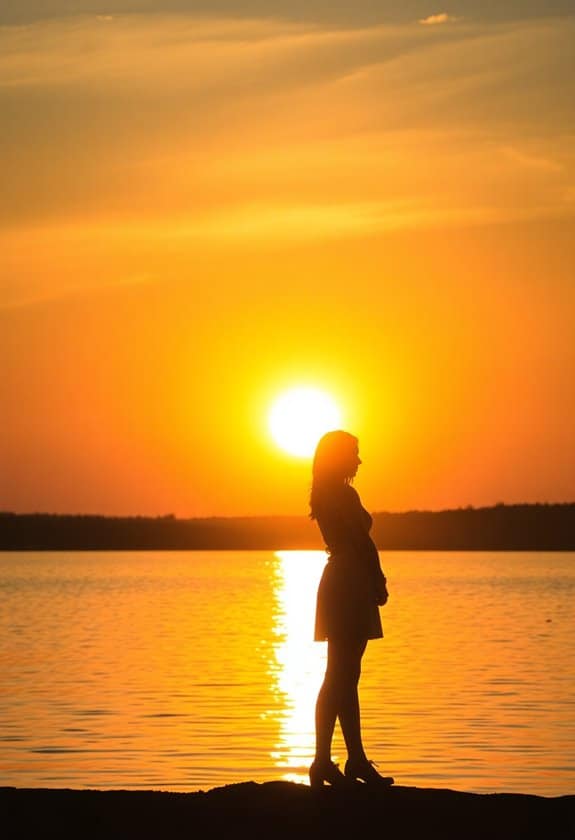
Capturing striking silhouettes requires a keen eye for contrast and composition. First, ascertain the light source is behind your subject. Think of a sunset—it’s your best friend here.
Position yourself so the light shines directly toward you, with your subject in between. This creates a dramatic outline. To keep things safe, avoid shooting directly into the sun. Instead, position the sun just out of view or use natural filters, like trees or clouds.
For a fun twist, try photographing familiar objects, like a person jumping or a tree swaying. The key is simplicity—don’t overload the scene.
Enhancing Photos in Post-Processing

Post-processing magic can transform your silhouette photos from good to breathtaking.
When I first started, I was amazed at how editing could enhance my images.
Here’s a safe and effective way to elevate your photos:
- Adjust Brightness and Contrast: Carefully tweak these to make your subject pop without losing details. It’s like adding a pinch of salt to a dish—just enough to enhance flavor!
- Play with Shadows and Highlights: Gently adjust these to create depth and drama, ensuring your image tells a mesmerizing story.
- Use Color Grading: Experiment with tones to set the mood. A warm tone can add coziness, while cool tones bring calmness.
- Sharpen the Image: Enhancing clarity brings out subtle details, making your photo crisp and vibrant.
Experimenting With Different Scenarios

Exploring various scenarios is key to mastering backlighting techniques. You’ve gotta try shooting at different times of the day.
Morning light, with its gentle glow, can create a safe, warm feel in your photos. But, don’t shy away from the dramatic effects of dusk or even the unexpected challenge of shooting indoors.
Once, I captured the perfect silhouette of my cat, Whiskers, against a sunset, which taught me a lot about lighting angles and their safety impact on the final image.
Don’t forget to adjust your camera settings frequently. Try different exposures and positions to see what feels right.
It’s like a puzzle, fitting all the pieces together! Just remember, practice makes perfect, and each scenario will help you grow as a budding photographer.
Frequently Asked Questions
How Can Backlighting Enhance the Mood or Emotion of a Photo?
Backlighting can really boost the mood or emotion of a photo, making it feel magical or dramatic.
Imagine you’re capturing a sunset scene; the soft glow from behind can create a warm, dreamy vibe. It’s like adding a sprinkle of fairy dust!
But be careful—too much can wash out your subject. I remember my first attempt was a bit too bright, but with practice, you’ll find that sweet spot.
What Are Common Mistakes to Avoid When Using Backlighting?
When using backlighting, you might face some common pitfalls.
First, don’t forget to adjust your camera settings; otherwise, your subject might end up looking like a shadowy figure.
Always check your angles, so the light doesn’t wash out important details.
A mistake I’ve made isn’t using a reflector to balance the light, resulting in harsh contrasts.
How Does Backlighting Differ in Outdoor Versus Indoor Settings?
You’re shooting your school play indoors, and the backlighting turns your actors into mysterious silhouettes.
Outdoors, it’s a different ballgame—think about your summer picnic photos where everyone’s glowing like they’re on a magazine cover.
Indoors, control is key; you’ve got walls bouncing light around, so use softer light to highlight without blinding.
Outside, the sun’s your buddy, but too much and everyone’s squinting.
Balance is everything, just like juggling homework and video games!
What Safety Precautions Should Be Taken When Working With Intense Backlighting?
When you’re working with intense backlighting, safety’s super important!
Always start by wearing sunglasses to protect your eyes from bright lights.
It’s also smart to keep electrical cords tidy, so you don’t trip—trust me, I’ve learned that the hard way!
Make sure your equipment’s stable, and avoid looking directly at the light source.
Finally, take breaks to prevent eye strain, because nobody wants a headache, right?
Stay safe, filmmakers!
How Can Backlighting Be Used Creatively in Portrait Photography?
Imagine backlighting as the DeLorean of portrait photography, taking you to creative places. You can transform an ordinary portrait into something magical.
Position your subject with the light behind them to create a dreamy halo effect that’s straight outta sci-fi. Make sure you’re not blinding anyone; safety first!
Experiment with different angles and light sources, like sunlight or lamps, and watch how shadows dance, adding depth and drama to your photos.


