If you want to create professional-looking films without overspending, DIY lighting can be your best friend! Start with affordable clamp lights or LED lights, and don’t forget to use natural light whenever possible; it’s free and magical! Transform harsh light with simple diffusion, like shower curtains, to get that soft glow. Reflectors can be made from cardboard and foil, bouncing light perfectly into your scenes. Experiment with colored gels to set the mood, and practice techniques like three-point lighting for depth. It’s all about creativity and fun, so grab your gear, and you’ll find plenty of ideas to elevate your projects!
Key Highlights
- Utilize LED lights and clamp lights for affordable and versatile lighting solutions in DIY film projects.
- Create soft light by using diffusion materials like shower curtains or white bedsheets to enhance visual quality.
- Employ DIY reflectors, such as foam boards and aluminum foil, to bounce and intensify light without additional costs.
- Experiment with colored gels to transform lighting moods, adding emotional depth to your scenes at minimal expense.
- Implement a three-point lighting setup (key, fill, and backlight) for professional-looking, well-balanced shots in your films.
Understanding Lighting Basics
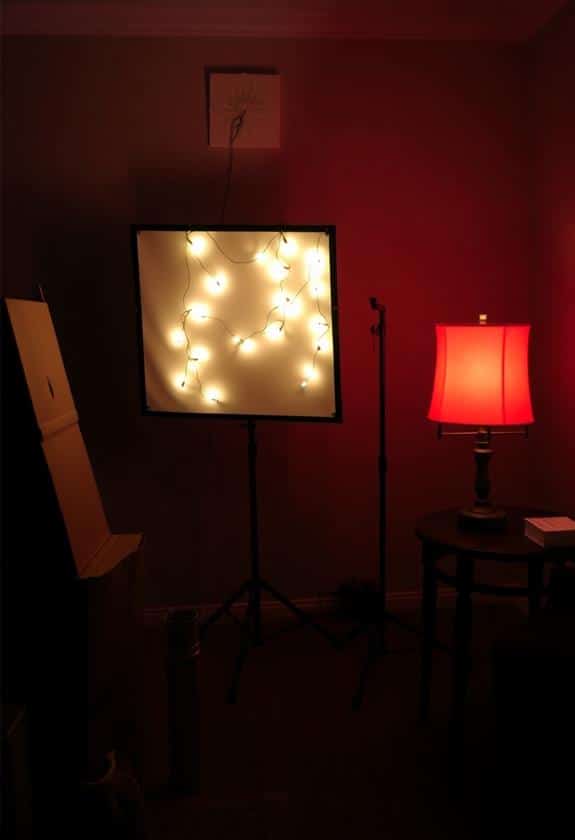
Understanding the basics of lighting is essential for any filmmaker looking to enhance their storytelling. You might think lighting’s just about turning on a lamp, but it’s so much more! Good lighting sets the mood, highlights your actors, and can even create suspense. When I first started filming, I struggled with lighting my scenes. I’d use whatever was handy, like desk lamps, but realized quickly that the right light can make or break your shot. For instance, using softbox lights can provide soft, diffused illumination that enhances the overall quality of your visuals.
Let’s talk about three important concepts: intensity, color, and direction. Intensity refers to how bright your light is. Too bright can wash out details, while too dim can leave your scene looking flat. Color is about the warmth or coolness of the light. You want to match the light to your scene’s vibe, whether it’s a cozy living room or a spooky alley. Finally, direction is key! Front lighting can flatten your subjects, while side lighting adds depth and drama.
Essential DIY Lighting Equipment
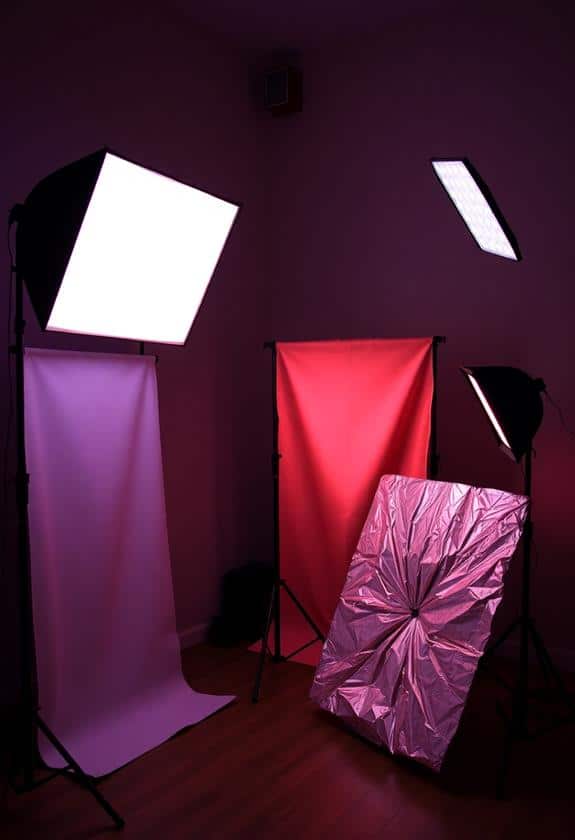
When it comes to lighting your film projects on a budget, having the right DIY equipment can make a world of difference. Trust me, I’ve been there—stumbling around in the dark, wishing I had a magic wand to fix my lighting. First up, you’ll want some basic LED lights. They’re energy-efficient, long-lasting, and won’t burn your fingers if you accidentally touch them. You can even use some clamp lights from your local hardware store. Just remember to pick up some daylight-balanced bulbs for that professional look. For an even better lighting experience, consider investing in the best softbox lights that can enhance your setup considerably.
Next, a simple reflector can work wonders. You can create one from a piece of cardboard covered in aluminum foil. It bounces light back onto your subject, and it’s super easy to make. Don’t forget about diffusion materials, like shower curtains or white bedsheets. They soften harsh light and give your scenes a dreamy feel.
Lastly, always keep safety in mind. Make sure your equipment’s stable, and don’t overload power outlets. Filmmaking should be fun, not dangerous! With these essentials, you’ll be well on your way to lighting up your projects like a pro, even on a budget.
Using Natural Light Effectively
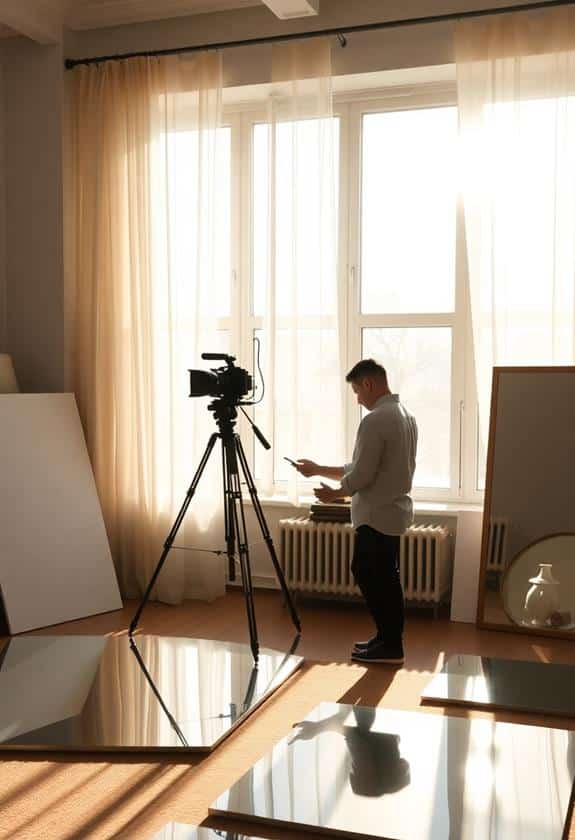
Using natural light effectively means planning your shots around the sun’s position. Don’t chase the sunlight; instead, let it work for you. For instance, if you’re capturing a person’s face, position them so the light illuminates their features without harsh shadows. You can also enhance your setup with top portable lighting options for those moments when natural light isn’t enough. I learned this the hard way during a shoot in my backyard. I had my friend standing in direct sunlight, and it looked more like a horror movie than a heartfelt scene!
Also, don’t forget about the weather. Overcast days can soften the light and create a beautiful, even tone, perfect for intimate scenes. Remember, nature’s lighting can create depth and emotion in your films, so embrace it. With practice and a little creativity, you’ll find that natural light can elevate your storytelling to new heights!
Creating Soft Light With Diffusion
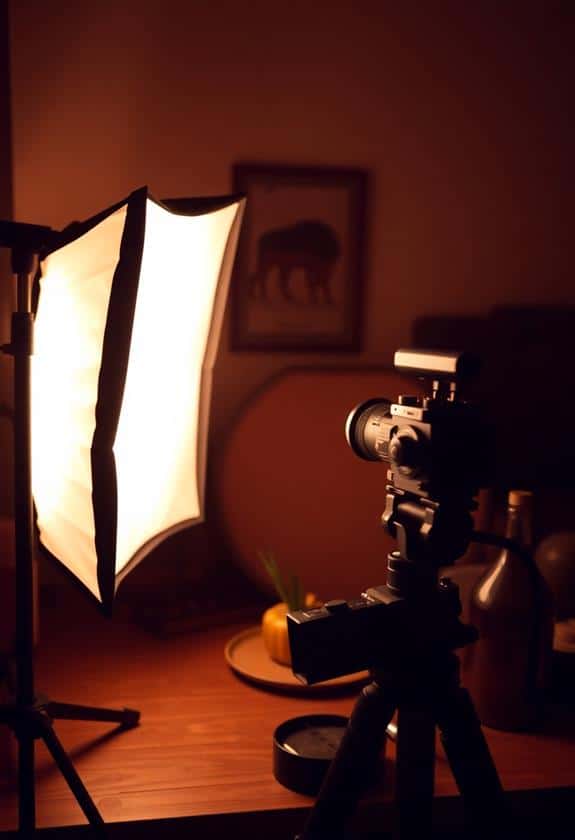
After harnessing the power of natural light, you might find yourself needing to create a softer ambiance for your scenes. Soft light can make your subjects look more flattering, and it’s easier on the eyes—trust me, nobody wants to squint at your masterpiece!
One of the simplest ways to achieve this is through diffusion. You can use materials like shower curtains or white bedsheets to gently scatter light. Just remember to keep safety in mind—make sure your light source isn’t too hot to avoid any fire hazards!
Here’s a quick table to give you some ideas on diffusion materials and their effects:
| Material | Softness Level |
|---|---|
| White Bedsheet | High |
| Shower Curtain | Medium |
| Frosted Plastic | Medium |
| Silk Fabric | High |
| Baking Paper | Low |
Experiment with different materials and distances from your light source. You’ll get the hang of it, and your scenes will glow beautifully! Remember, soft light can be your best friend in filmmaking, creating that dreamy look you’re after.
DIY Reflectors for Enhanced Light
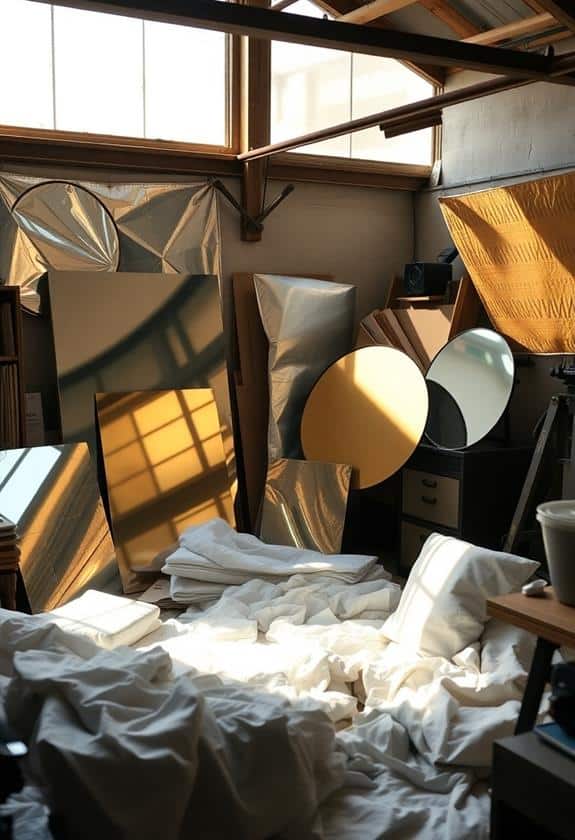
Reflectors are a filmmaker’s secret weapon for enhancing light in your scenes. When I first started filming, I didn’t realize how much a simple reflector could change the game. They’re affordable, super easy to make, and can really brighten up your shots! With the right DIY techniques, you can create effective reflectors that rival professional gear like the Etekcity 5-in-1 Reflector, which features various surfaces for versatile light manipulation. Here’s how you can create your own DIY reflectors:
- Foam Board: Get a large piece of white foam board. It’s lightweight, sturdy, and reflects light beautifully.
- Aluminum Foil: Wrap a cardboard piece with aluminum foil. This creates a shiny surface that intensifies the light, perfect for dramatic effects.
- Mylar Emergency Blankets: These are inexpensive and can be found at outdoor stores. They’re compact, portable, and reflect light brilliantly.
- White Bed Sheets: A simple white sheet can diffuse and soften the light, giving your scene that dreamy quality.
As you experiment, remember to position your reflectors safely and securely. You don’t want them tipping over and becoming a hazard. With these DIY reflectors, you’ll not only enhance your lighting but also take your filmmaking to the next level. Happy filming!
Colored Gels for Mood Setting
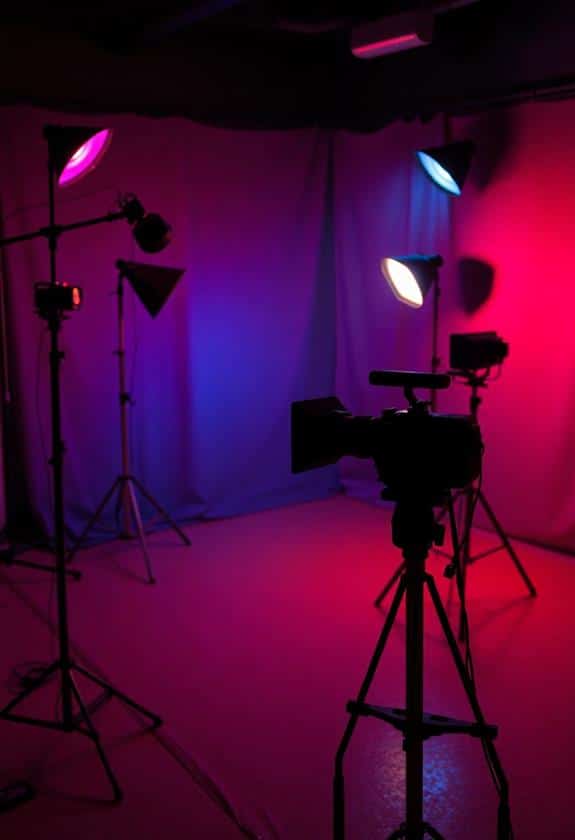
When it comes to setting the mood in your films, colored gels can be a game-changer. These simple pieces of colored plastic can transform ordinary lighting into something magical. You might remember my first film project, where I used a blue gel to create a nighttime scene. The effect was stunning, and it felt like I had a whole new world at my fingertips!
Here’s a handy table to help you choose colors based on the mood you want to create:
| Mood | Gel Color |
|---|---|
| Romantic | Soft Pink |
| Mysterious | Deep Blue |
| Energetic | Bright Yellow |
| Calm | Light Green |
| Intense Drama | Blood Red |
Using colored gels is easy and safe! Just make sure to keep them away from hot lights to prevent any melting. You can clip them onto your lights or even use tape if you’re in a pinch. I’ve had my share of mishaps, like accidentally sticking one too close to a bulb, so learn from my experience! Experimenting with these gels can really elevate your storytelling without breaking the bank. Enjoy the process!
Practical Lighting Techniques
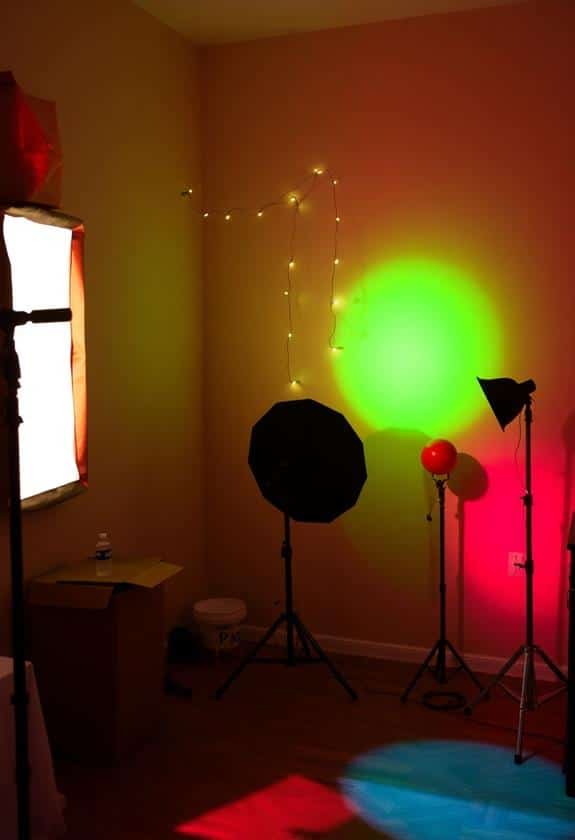
While exploring practical lighting techniques can feel overwhelming at first, mastering a few key methods can greatly enhance your filmmaking. Trust me, I’ve been there! When I first started, I struggled with lighting, but once I learned some basics, everything changed. You can also find a wide range of affordable options to elevate your setup with the right top lighting gear choices. Here are four practical lighting techniques that you can easily use:
- Three-Point Lighting: This classic technique involves a key light, fill light, and backlight. It creates depth and dimension in your shots.
- Natural Light: Don’t underestimate the power of sunlight. Shooting during golden hour—right after sunrise or before sunset—can give your scenes a beautiful glow.
- DIY Diffusers: A simple white bedsheet or shower curtain can soften harsh light. Just hang it in front of your light source to diffuse that intense beam!
- Bounce Light: Use a white wall or reflector to bounce light onto your subject. It’s a fantastic way to brighten up a scene without direct lighting.
Innovative DIY Light Sources

Exploring innovative DIY light sources can open up a world of creative possibilities for your filmmaking projects. When I started, I realized that lighting could make or break a scene, so I decided to get crafty. For instance, using LED strip lights is a game-changer. You can stick them anywhere, and they come in all kinds of colors. Just remember to keep them away from flammable materials!
Another fun idea is to use household items like a white bedsheet to diffuse harsh light. You can hang it in front of a lamp, and voilà! You’ve got soft, flattering light that makes your subjects glow—almost like magic.
If you’re feeling adventurous, grab some colored gels to place over your lights. It’s amazing how a little color can transform the mood of a scene. Just make sure your light source isn’t too hot, or you’ll risk melting those gels.
With a little creativity and safety in mind, you can create stunning lighting effects that elevate your films. So, gather those materials, and let your imagination shine! Remember, the best part of DIY is that it’s all about experimenting and having fun!
Tips for Consistent Lighting

Consistently achieving great lighting is essential for any filmmaker, and it’s something you can nail with a few straightforward techniques. Trust me, I’ve faced lighting fails more times than I’d like to admit, but with these tips, you’ll shine!
- Use a Light Meter: This handy tool helps you measure light levels, ensuring consistency across your shots. It’s like having your own lighting assistant!
- Stick to One Color Temperature: Mixing different light sources can create weird color casts. Choose daylight or tungsten and keep it uniform for a polished look.
- Create a Lighting Plan: Before you shoot, sketch out your setup. This’ll help you visualize how to achieve that dreamy effect you’re after and save you from last-minute scrambles.
- Test, Adjust, Repeat: Don’t skip the test shots! You’ll quickly learn if your setup works. Adjust your lights as needed, and don’t be afraid to experiment—after all, filmmaking is about creativity!
Frequently Asked Questions
How Can I Prevent Shadows in My DIY Lighting Setup?
To prevent shadows in your lighting setup, try using multiple light sources at different angles. It’s like having a friendly army of lights working together! You can also bounce light off walls or reflectors. This softens the light and reduces harsh shadows. If you’re using a single bulb, diffusing it with a white sheet or a shower curtain can help. Trust me, it’s like giving your setup a cozy blanket!
What Are the Best Colors for Colored Gels?
When it comes to colored gels, you can’t go wrong with blue and orange. Blue adds a cool, calming vibe, while orange creates warmth, making your scenes feel cozy. I remember using a bright red gel once, and it turned my friend’s face into a tomato! So, experiment with colors, but stick to these basics for a balanced look. Just remember, safety first—avoid overheating! Happy filming, and let your creativity shine!
How Do I Create a Cinematic Lighting Style on a Budget?
Creating a cinematic lighting style on a budget is totally doable! Start by using natural light; it’s free and can create beautiful effects. Try positioning your subjects near windows during golden hour. You can also use inexpensive DIY diffusers, like shower curtains, to soften harsh light. And don’t forget about colored gels—using colored plastic can add drama! Remember, it’s about being creative, so have fun experimenting with what you’ve got!
Can I Use Household Items as Light Modifiers?
Absolutely, you can use household items as light modifiers! Think about sheer curtains for softening light or aluminum foil to reflect it. I once used a pizza box as a bounce board during a shoot; it worked like a charm! Just make sure anything you use is safe and won’t catch fire. Get creative, and you’ll be amazed at how ordinary things can transform your lighting game without breaking the bank!
What Safety Precautions Should I Follow When DIYING Lights?
When you’re DIYing lights, safety’s super important! Always work in a dry area to avoid electrical shocks. Make sure your cords aren’t frayed, and don’t overload outlets—trust me, you don’t want a blown fuse in the middle of filming! Use heat-resistant materials for any light modifications; I once melted a plastic container, and it wasn’t pretty. Finally, keep flammable items far away. Stay safe and have fun creating your masterpiece!
Conclusion
So, there you have it! With a little creativity and some DIY spirit, you can light up your films without breaking the bank. Remember, it’s not just about having fancy gear; it’s about how you use what you’ve got. Like they say, where there’s a will, there’s a way! Embrace the challenges, experiment with your lighting, and let your passion shine through. Your next masterpiece is just waiting for the right light to bring it to life!


