To frame close-up shots perfectly, start by getting comfy with your camera and choosing the right lens. A macro lens works wonders for capturing tiny details that matter. Think about composition; apply the rule of thirds to keep things balanced. Use natural light when possible, and avoid harsh shadows. A clutter-free background helps the subject shine. I once snapped a petal up close, and you’d be amazed by the details revealed! Don’t forget to adjust your shots in post-processing to bring out vibrant colors and clarity. Keep experimenting, and pretty soon, you’ll reveal even more photography secrets!
Key Highlights
- Use macro lenses for capturing intricate details, ensuring clarity and vibrancy in close-up shots.
- Apply the rule of thirds to create balanced and visually appealing compositions.
- Experiment with different angles and perspectives to gain unique viewpoints on your subject.
- Ensure a clutter-free background to enhance subject visibility and focus.
- Utilize natural light or soft artificial lighting to achieve warmth and reduce harsh shadows.
Understanding Close-Up Photography
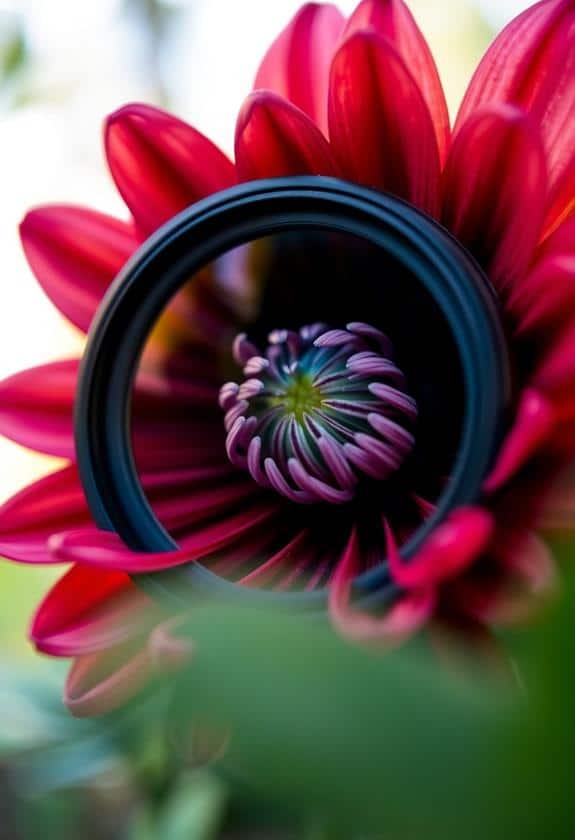
Mastering close-up photography opens up a world of detail and intimacy in your images. You’ll find that capturing tiny subjects can be incredibly rewarding, letting you explore textures and colors you might’ve missed. Consider investing in top-quality cameras that are perfect for this type of photography. Think about the way a raindrop clings to a petal or the intricate patterns on a butterfly’s wings. Each close-up shot tells a story, sparking curiosity and wonder.
When you start, pay attention to your surroundings. Make sure you’re in a safe spot to avoid tripping or bumping into things while you’re focused on your subject. I remember one time I was so absorbed in a flower’s details that I almost fell into a bush! It’s important to be aware of your environment.
Lighting is another key factor. Natural light works wonders, but be cautious of harsh shadows. You might want to experiment with different times of day, like early morning or late afternoon, to find what looks best.
Choosing the Right Lens
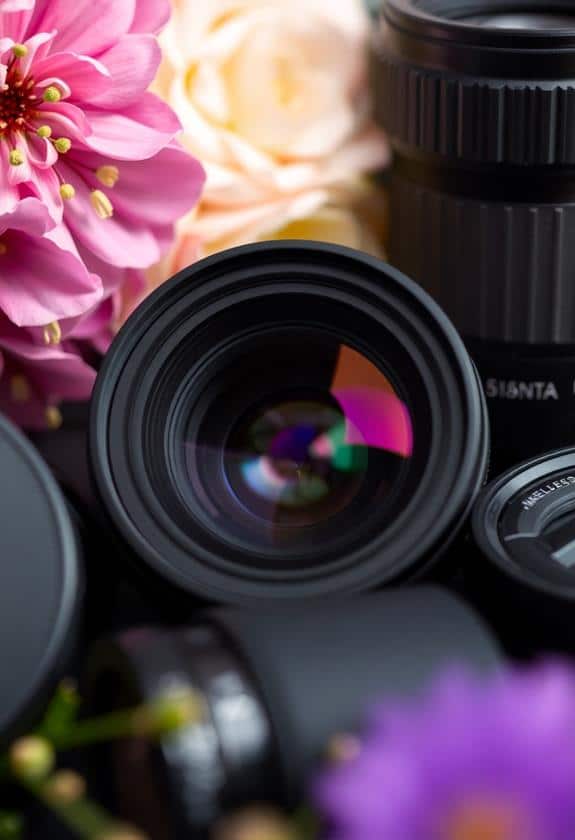
When it comes to close-up photography, your lens choice can make all the difference in capturing stunning details. I remember my first attempt at photographing flowers. I used a standard lens, and the petals looked flat and lifeless. Switching to a macro lens was like opening a treasure chest! Suddenly, I could see every tiny vein and drop of dew. For those looking to expand their options, there are also great top zoom lenses that offer flexibility for capturing intricate details while providing the ability to zoom in and out as needed.
A macro lens is your best friend for close-ups. It lets you focus on subjects that are just inches away, revealing details you might miss otherwise. The beauty of these lenses is in their ability to create a soft background while keeping your subject sharp. If you don’t have a macro lens, consider a zoom lens with a close focusing feature. It’s versatile and can still get you those eye-catching shots.
Remember to think about your lighting too! Natural light works wonders, but if you’re shooting indoors, a soft light source can help you avoid harsh shadows. So grab your camera, choose the right lens, and get ready to explore the world up close. You’re going to love what you find!
Composition Techniques
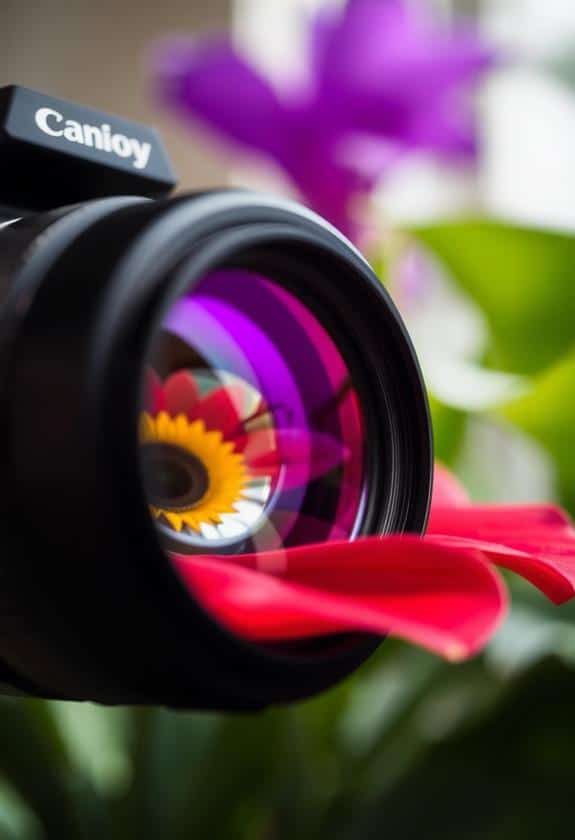
Effective composition techniques are essential for elevating your close-up shots and making them visually compelling. Think about the rule of thirds; it’s like dividing your frame into a tic-tac-toe grid. Place your subject along these lines or at their intersections for a balanced look. Trust me, it works wonders! To enhance your shots even further, consider how proper lighting can dramatically change the mood and clarity of your images. Investing in quality top-lighting gear choices can make a noticeable difference in your photography!
Also, try using leading lines. Imagine a winding path or a fence that naturally draws the viewer’s eye to your subject. It creates a sense of depth, which can be magical in close-ups. Don’t forget about framing! You can use elements in your scene, like doorways or branches, to create a natural frame around your subject.
And let’s talk about negative space. Sometimes, less is more. Leaving some empty space around your subject can make them stand out even more, giving your shot a clean, professional feel.
Lastly, keep your background in mind. A cluttered background can distract from your subject. When I first started, I learned the hard way that a messy room can overshadow a beautiful close-up. So, remember these tips, and you’ll be on your way to capturing stunning close-ups that truly shine!
Lighting Considerations
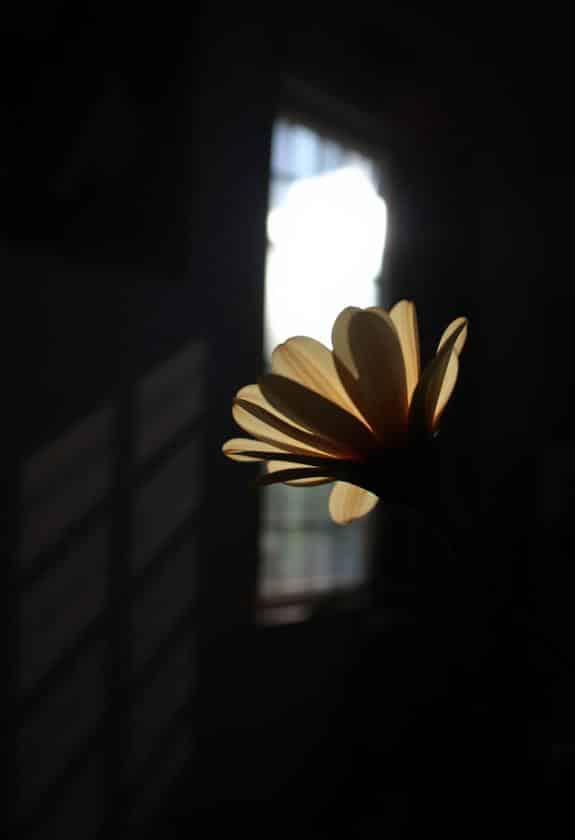
Lighting plays an essential role in transforming your close-up shots from ordinary to extraordinary. When I first started, I struggled with shadows and harsh lights, leaving my subjects looking more like ghosts than vibrant beings. But once I learned how to manipulate light, everything changed!
To help you, here’s a quick reference table to evaluate your lighting options:
| Lighting Type | Effect | Best For |
|---|---|---|
| Soft Lighting | Creates a warm, inviting feel | Portraits, beauty shots |
| Hard Lighting | Adds drama and intensity | Action scenes, textures |
| Natural Lighting | Gives a realistic look | Outdoor scenes, candid shots |
Always remember, safety first! If you’re using artificial lights, make sure they’re securely placed and don’t get too hot. I once had a bulb fall onto my equipment—yikes!
Experiment with these lighting types to see what emotions they evoke in your audience. You want your viewers to connect with your shots, not squint at them! Happy filming, and remember, the right light can make all the difference!
Focusing on Details
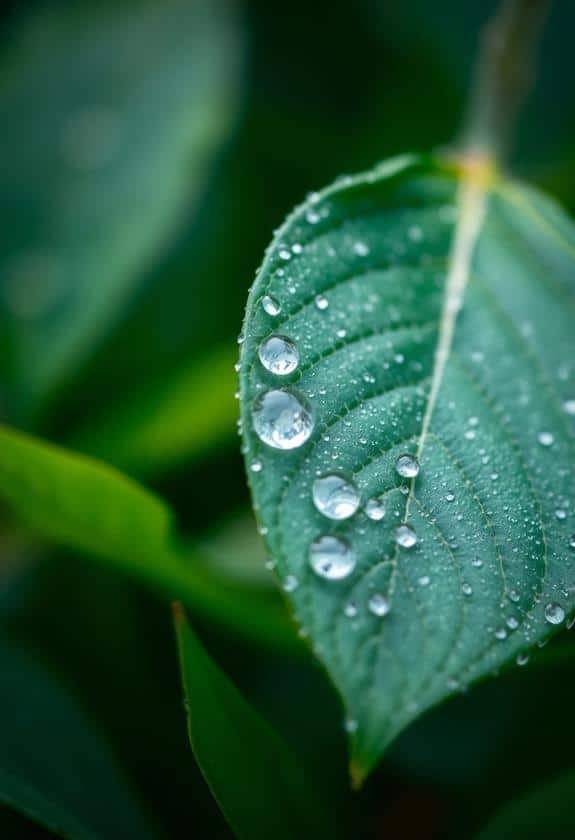
Details are the heartbeat of close-up shots, capturing the essence of your subject in a way that wide-angle perspectives simply can’t. When you’re zooming in, it’s all about those small features that tell a story. Think about the way light dances on a leaf or the texture of an old book’s cover. These details can evoke feelings and spark the imagination. To enhance your close-up photography, consider investing in the best camera lenses for capturing intricate details.
I remember my first close-up attempt; I was filming a flower. At first, I thought I’d nailed it, but when I reviewed the footage, I realized I’d missed the intricate patterns on the petals. It taught me to slow down and really look.
To focus on details, you’ll want to get up close and personal. Use a macro lens if you can, and don’t be afraid to experiment with angles. Sometimes, the best shot is from a surprising viewpoint. And remember, keeping your camera steady is vital—no one wants to watch a shaky video!
Background and Context
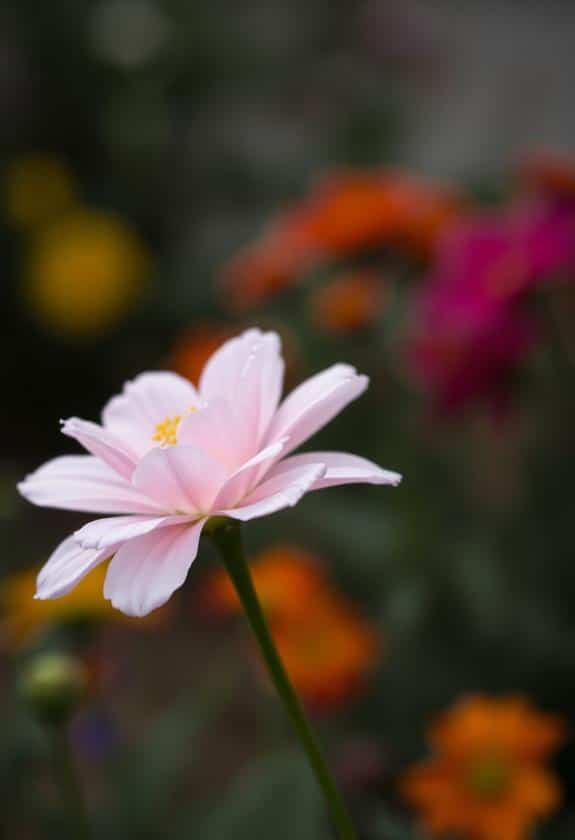
Incorporating background and context into your close-up shots can elevate your storytelling. Think of your shots like a puzzle; every piece, including the background, tells part of the story. When you’re capturing a close-up, consider what’s behind your subject. Is there something that adds meaning or context? For instance, if you’re filming a baker’s hands kneading dough, a cozy kitchen in the background helps viewers feel the warmth and love of baking. Utilizing tools like the Glide Gear BFS 100 Butterfly Scrim Diffuser can help you achieve that perfect soft lighting, enhancing the atmosphere of your scene.
I remember filming my little sister’s lemonade stand. I zoomed in on her face as she poured lemonade, but the messy yard behind her made it look chaotic. I quickly adjusted, framing her with the colorful lemonade stand in view. Instantly, the shot felt more inviting!
Always think about how the background complements your subject. You don’t want anything distracting, but a soft hint of context can enhance your story. And hey, if you mess up, don’t sweat it! Every filmmaker has had those moments. Just keep experimenting, and you’ll find how background and context can make your close-up shots shine, bringing your stories to life in ways that resonate with your audience.
Post-Processing Tips
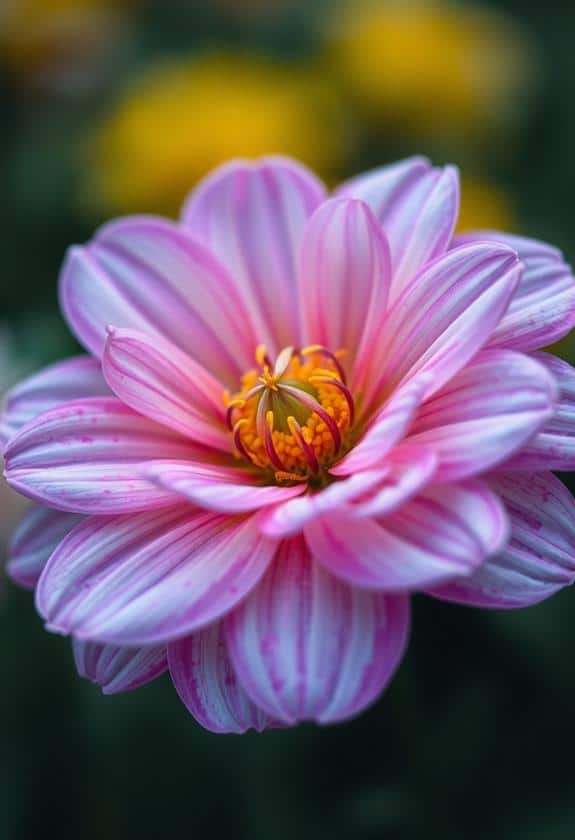
Post-processing is where your close-up shots can truly shine and come to life. After capturing those beautiful details, it’s time to add your personal touch. First, always back up your photos—trust me, losing them is a nightmare! Next, adjust the exposure and contrast to make those vibrant colors pop. I remember the first time I brightened a dull shot; it felt like magic!
Don’t forget about cropping! You can trim away distractions and focus on the subject. Also, sharpening your images can help bring out the fine details; just be careful not to overdo it, or your image might look too harsh.
One trick I love is using filters sparingly. A slightly warm filter can give your shot a cozy feel, like a warm blanket on a chilly day.
Lastly, save your work in different formats. You never know when you’ll want that original file back. Post-processing is your chance to express your creativity, so have fun! Remember, it’s all about making your close-ups feel like they’re telling a story; let your passion for filmmaking shine through!
Frequently Asked Questions
What Camera Settings Are Ideal for Close-Up Photography?
When you’re diving into close-up photography, you’ll want to use a low ISO to minimize noise, typically around 100 to 400. A wider aperture, like f/2.8, helps blur the background and focus on your subject. Shutter speed should be fast enough to avoid blur, especially if your subject’s moving. Remember, lighting is key! Natural light is great, but a simple lamp can work wonders too. Don’t forget to have fun experimenting!
How Can I Avoid Camera Shake During Close-Up Shots?
Imagine you’re holding a fragile butterfly, every tremor could send it fluttering away. To avoid camera shake during close-ups, you can use a tripod or stabilizer, keeping your shots steady and smooth. If you don’t have those, brace yourself against a wall or table. Even holding your breath briefly while snapping a photo can help. Trust me, it’ll make your images sharper and you’ll feel like a pro in no time!
What Is the Best Distance for Close-Up Framing?
When you’re framing a close-up shot, it’s usually best to stay about 2 to 3 feet away from your subject. This distance lets you capture details without losing the context. I remember my first close-up attempt; I was too close and ended up with a blurry mess! So, play around with distances—get close enough to show emotion, but not so close that it feels cramped. It’s all about finding that perfect balance!
Should I Use a Tripod for Close-Up Photography?
You might think a tripod’s a boring old stick, but trust me, it’s your best friend for close-up photography! It keeps your camera steady, so you won’t end up with blurry shots that look like a rollercoaster ride. Plus, it lets you focus on your subject without worrying about shaky hands. I remember once trying to hold the camera and ended up with a masterpiece of chaos! So, grab that tripod and make your life easier!
How Do I Choose Subjects for Close-Up Shots?
Choosing subjects for close-up shots can be exciting! Start by looking for interesting textures or details, like the veins on a leaf or the patterns on an insect. You might also explore everyday objects; sometimes, a simple coffee cup can tell a story. I remember zooming in on my cat’s whiskers and discovering a whole new world! Just make sure your subject’s intriguing enough to hold your audience’s attention. Happy shooting!
Conclusion
So, as you immerse yourself in the world of close-up shots, think of each frame as a treasure chest waiting to be opened. You’ve got the tools, the techniques, and a sprinkle of creativity. Remember, it’s all about the tiny details that tell a bigger story, like how a raindrop holds the sky. Don’t sweat the small stuff, embrace the journey, and let your passion shine through. With practice, you’ll capture moments that resonate with everyone who sees them!


