Lighting a green screen can be tricky, but I’ve got some golden tips for you. Start with soft, diffuse lights that won’t cast harsh shadows—LEDs are a great choice since they stay cool. Position them symmetrically for an even glow, and beware of those sneaky reflections; they can pop up unexpectedly, like my aunt’s cat during a Zoom call! Use softboxes or diffusers, placing lights at 45-degree angles to avoid shadows. Balancing foreground with background is essential—consistent lighting guarantees harmony between them. And finally, adjusting for skin tones can make your shots even more dazzling. Stick around for the full scoop!
Important Highlights
- Use softbox lights to enhance image quality and minimize harsh shadows.
- Position lights symmetrically for even illumination on the green screen.
- Control light reflections by angling lights indirectly and using black wraps.
- Employ multiple light sources at 45-degree angles to reduce shadows.
- Match lighting intensity between the subject and background for a cohesive look.
Choose the Right Lights
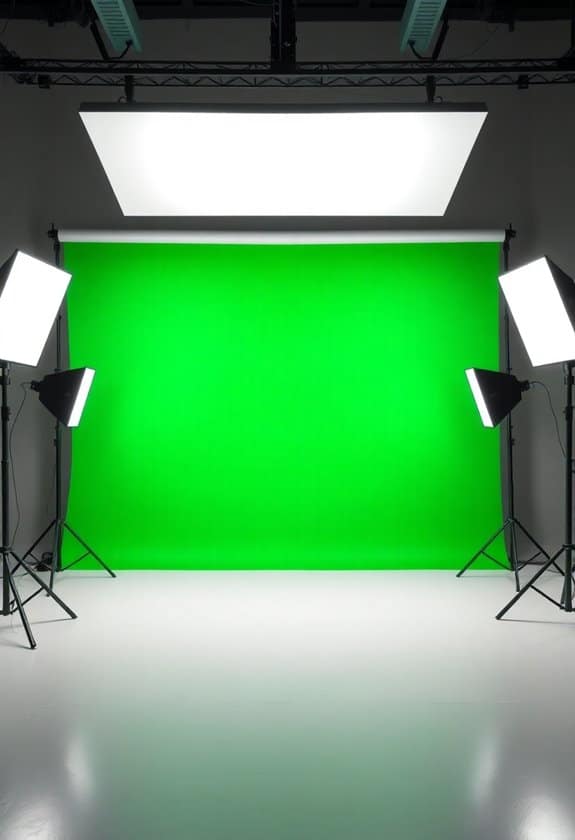
When it comes to lighting a green screen, choosing the right lights is essential for achieving a professional result. You want to make certain you’re using soft, diffuse lights to prevent harsh shadows. Shadows can make the green screen look uneven, leading to awkward editing later.
I remember my first project, where I used the wrong lights; it looked like I was filming on the moon instead of in my garage!
For safety, always guarantee your lights are stable and cool to the touch. LED lights are a fantastic choice because they’re energy-efficient and don’t get too hot. Plus, they’re kind to your electricity bill! Additionally, using softbox lights can provide soft diffusion that enhances image quality and reduces harsh shadows.
Just imagine setting up your scene, knowing everything’s safe and secure. It’s like having a trusted friend on set, ready to help.
Maintain Even Illumination

Achieving a smooth, professional look in your green screenshots hinges on maintaining even illumination across the backdrop. Consider this: you’re setting up for a shoot, and shadows decide to play tag on your green screen. Not fun, right?
To keep things safe and sound, follow these steps:
- Position Lights Symmetrically: Place lights on both sides of the screen to avoid shadows. Think of them as your screen’s personal bodyguards.
- Use Soft Light Sources: Harsh lights create shadows, while soft lights spread evenly. Imagine your green screen basking in a gentle glow.
- Check for Hotspots: Move around to confirm light is uniform, avoiding bright patches that could cause editing headaches.
- Adjust Light Height: Keeping lights at the right height ensures balanced coverage, protecting your editing process. Additionally, ensuring that your green screen is made from high-quality polyester can further enhance your chroma key effects.
Control Light Reflections
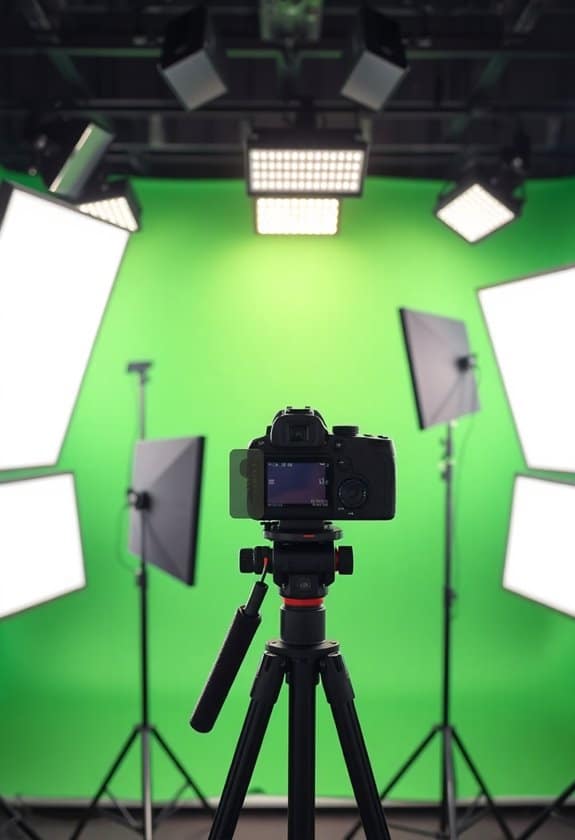
Reflections can sneak into your green screen setup and cause unwanted visual distortions in your final footage.
Imagine this: you’ve set everything up, but when you review the video, strange light patches appear. It can be frustrating, right?
To minimize reflections, make sure light sources aren’t directly shining on shiny surfaces, like metal or glossy props. Instead, angle your lights to hit the screen indirectly.
You might consider using black wrap or flags to block stray light from reflecting. Remember, even small items like watches or glasses can reflect light, so keep an eye on those.
It’s like playing hide and seek with light! By controlling reflections, you’ll keep your shots clean and your viewers focused on the action, not the distractions.
Use Soft Lighting Techniques
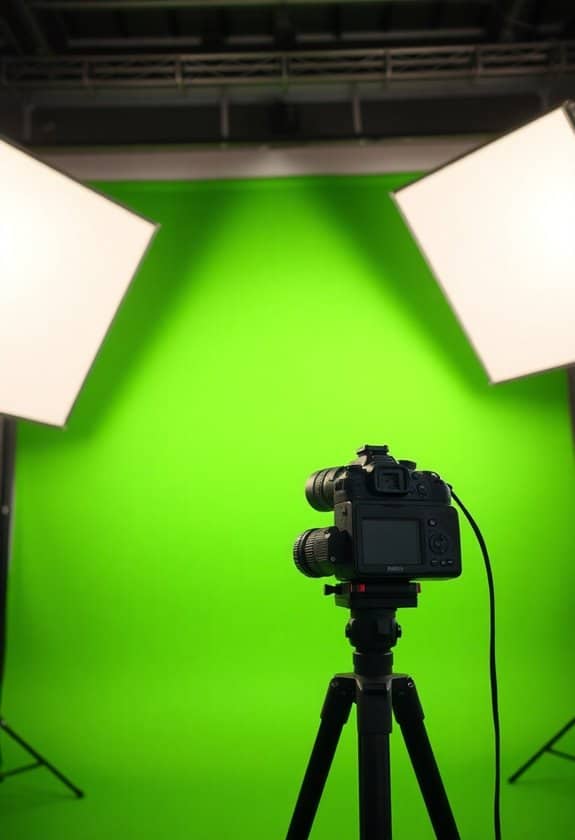
To create professional green screenshots, soft lighting techniques are essential.
Imagine this: you’re in your makeshift studio, trying to light the scene, and shadows are lurking like mischievous ghosts.
Soft lighting can be your superhero cape, rescuing you from these pesky shadows and ensuring your shots look smooth and professional.
Here’s how you can do it:
- Diffuse the Light: Use a softbox or diffuser to spread the light evenly. It’s like putting sunglasses on your lights!
- Choose the Right Bulbs: Opt for LED bulbs; they’re energy-efficient and don’t heat up much, keeping both you and your set safe.
- Position Lights Properly: Place them at a 45-degree angle to minimize harsh shadows.
- Use Multiple Light Sources: It reduces the chance of creating shadows and gives a balanced look.
Additionally, using a Glide Gear BFS 100 Butterfly Scrim Diffuser can enhance lighting quality without significant expense.
Manage Shadows Effectively
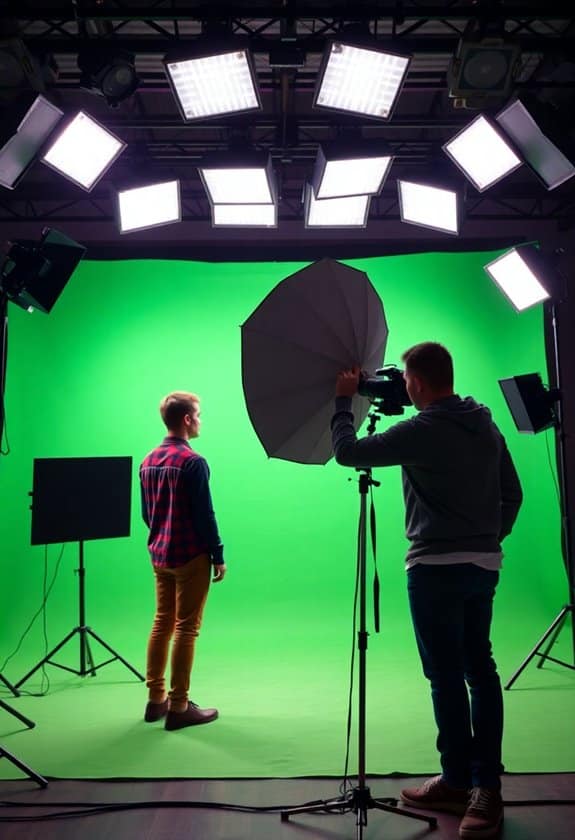
When capturing the perfect green screenshot, shadows can often be your biggest nemesis. They sneak in, creating unwanted lines and making your editing process a real headache. You don’t want your project to look like a spooky shadow puppet show, right?
To manage shadows effectively, try placing your subject a few feet away from the green screen. This small distance helps prevent shadows from falling directly onto it.
Also, use soft, even lighting on your subject. Think of it like a gentle hug from all sides! This helps blend their outline smoothly, reducing harsh shadow lines. Additionally, investing in softbox lights can provide the ideal illumination needed for your shoots.
Balance Foreground With Background
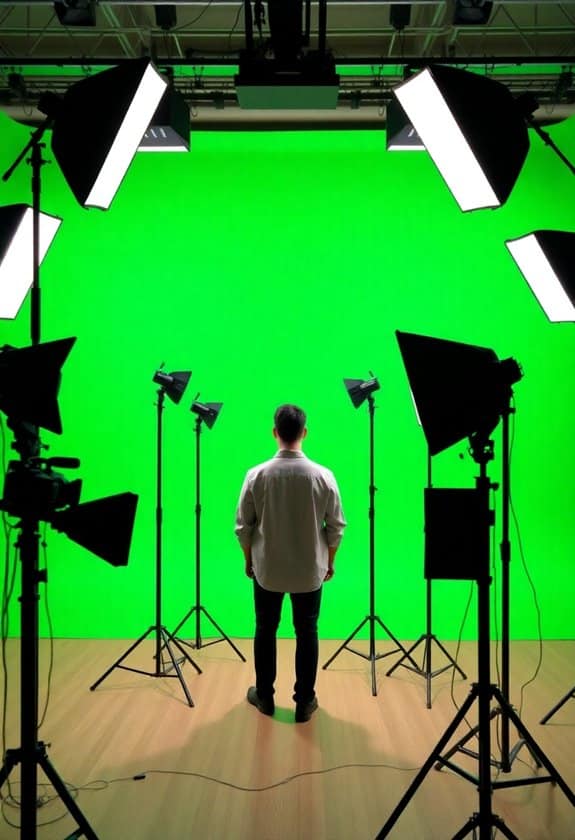
Having tackled shadows, let’s turn our focus to achieving harmony between the foreground and the background.
Imagine this: you’re filming a scene, and the background glows like a glorious sunrise, but your subject looks like they’re in a dark cave. Not good, right? Balancing these elements guarantees the scene feels natural and safe for viewers.
Here’s how you can achieve that balance:
- Match Lighting Intensity: Make sure the light on your subject complements the brightness of the background. It reduces harsh contrasts.
- Maintain Consistent Color Temperature: Use similar lighting tones for both areas to prevent jarring differences.
- Position Your Lights Wisely: Place lights to evenly illuminate the subject without overshadowing the background.
- Use Diffusers: Softening lights help blend scenes smoothly, ensuring a professional look.
Additionally, consider investing in high-quality lighting gear to elevate your overall production value and ensure a seamless integration of both elements.
Adjust Lighting for Skin Tones
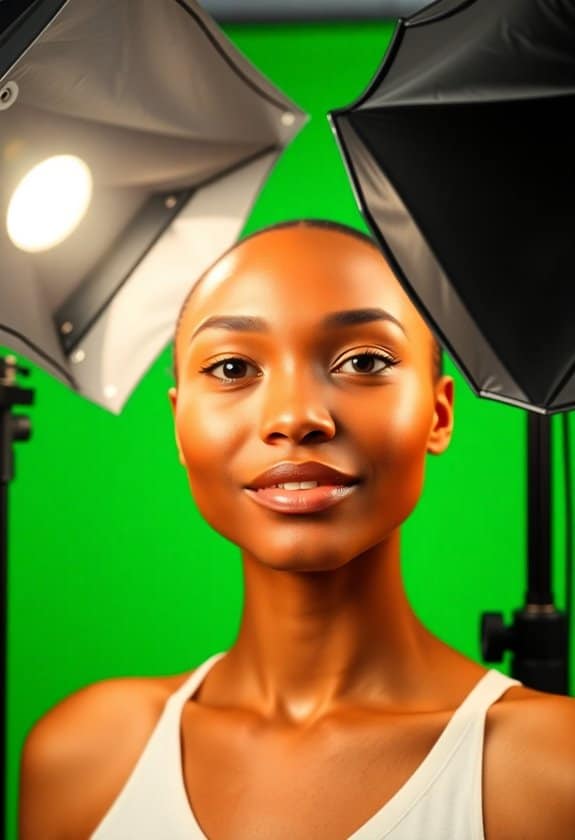
Properly adjusting lighting for skin tones is essential to achieving a realistic and flattering appearance on camera. Imagine being in a scene where everyone looks either ghostly or oddly tanned—not ideal, right? To avoid this, use soft, diffused lighting to guarantee everyone’s skin tone looks natural and safe from harsh shadows. It’s like finding the perfect Instagram filter but in real life!
Start by positioning key lights at a 45-degree angle. This helps to evenly illuminate faces without creating unflattering highlights or shadows.
If you’ve got different skin tones in the shot, use reflectors to balance the light more evenly. I once solved a tricky lighting problem just by bouncing light off a white poster board. Additionally, consider using tools like the Loupedeck Creative Tool to adjust lighting settings quickly and efficiently.
Frequently Asked Questions
What Are Some Common Mistakes When Setting up Lights for Green Screen Shoots?
When setting up lights for green screen shoots, you might accidentally cast shadows on the screen, making it hard to key out later.
Keep your subject far enough from the screen to avoid this. Also, watch out for uneven lighting—it can cause color to spill onto your subject.
Try using soft, even lighting to prevent this. I once learned the hard way when my actors looked like they were glowing green!
How Can I Troubleshoot Color Spill Issues in My Green Screen Footage?
Imagine your green screen is a jealous artist, spilling paint where it shouldn’t. To tackle color spill, check your lighting; it’s like the sun, needing just the right angle.
Move your subject further from the screen—distance is your friend. If that pesky spill still lingers, try a color correction tool in your editing software. It’s like a digital eraser, wiping away the mess.
What Camera Settings Work Best With Green Screen Lighting Setups?
When you’re setting up your camera for green screenshots, make sure you use manual mode so you can control the exposure, ISO, and white balance.
A lower ISO, like 100 or 200, reduces noise, and setting a consistent white balance keeps your colors true. You want a crisp, clear image, so adjust your aperture accordingly.
I remember my first shoot where I forgot this—let’s just say, blurry green isn’t a good look!
How Do I Achieve a Natural Look When Compositing Green Screen Footage?
Imagine you’re crafting a masterpiece, and the magic lies in making it look natural.
You’ll need patience and a keen eye to achieve a seamless composite with green screen footage. Match lighting and color tones between your subject and background to avoid the dreaded “floating” effect.
Don’t rush; take your time to tweak shadows and highlights. Remember, practice makes perfect.
You’ll soon be creating worlds that look as real as reality itself!
What Software Tools Are Recommended for Post-Production Green Screen Editing?
When you’re editing green screen footage, you’ll want reliable software tools to make your project shine.
Adobe After Effects is like magic for compositing, offering precise control. Final Cut Pro is great if you’re using a Mac.
DaVinci Resolve isn’t just for color correction; it’s got some neat compositing features too.
I once used HitFilm Express; it’s free and surprisingly powerful.


