Creating an effective production binder feels like being a movie director with a magic wand! First, jot down your production goals—keep them simple, like my first time using a tripod. Gather essential documents like scripts, contact lists, and shooting schedules—these are as crucial as popcorn during a movie marathon. Choose a durable binder, preferably one that can survive a set’s chaos. Organize everything with tabs—scripts here, schedules there. Add a detailed production schedule and cast lists for quick reference. Finally, keep those details up-to-date, preventing chaos reminiscent of my first disastrous shoot. Stick around to uncover more filmmaking magic!
Important Highlights
- Select durable binders to withstand transport and handling on set.
- Divide the binder into sections with labeled tabs for easy access.
- Include essential documents like scripts, shooting schedules, and contact lists.
- Regularly update information to ensure accuracy and compliance with safety protocols.
- Utilize colorful dividers and organizational tools for quick identification and accessibility.
Set Clear Objectives

To set clear objectives in a production binder, begin by identifying the key goals you want to achieve. Think of it like planning a safe journey; you wouldn’t start without knowing your destination.
As a budding filmmaker, setting these objectives helps you stay on track and guarantees a smooth production process. Start by brainstorming what you want your project to accomplish. Maybe you want to finish filming by a certain date or make sure everyone on set knows their responsibilities.
Having clear objectives creates a sense of security and direction for everyone involved, making the entire process less stressful. Remember that time I forgot to set clear objectives? Chaos ensued, and I learned my lesson the hard way.
Keep your goals simple, attainable, and specific. Additionally, consider using tools like acrylic clapboards to help maintain organization on set, supporting your project’s efficiency.
Gather Essential Documents

Before diving into production, gather all the essential documents that will keep your project organized and on track.
Think of these documents as your safety net—keeping everyone informed and aligned. Start with the script; it’s your blueprint.
Then, add contact lists for cast and crew because knowing who to call is vital.
Don’t forget the shooting schedule; it’s like your film’s calendar.
Location permits guarantee you’re filming legally, and insurance documents provide peace of mind in case of accidents.
Remember, the more detailed your documents, the smoother the process.
Additionally, consider including information about the best cameras for filmmaking to ensure you’re equipped with the right tools for capturing your vision.
I once forgot a location permit and had to halt production—a mistake I won’t repeat!
Choose a Durable Binder

With all your documents organized, it’s time to focus on how you’ll store them. Choosing a durable binder is vital. Imagine dropping your binder on a rainy day—your papers should stay safe and dry!
Look for binders made from sturdy materials like heavy-duty plastic or even metal. Trust me, I’ve had binders fall apart at the worst possible moments, and it’s not fun scrambling to collect scattered papers.
Consider getting one with reinforced corners and a secure locking mechanism. These features guarantee your binder can handle being tossed around on set.
Plus, a binder with a wide spine gives you plenty of room for everything. Remember, this binder will be your trusty sidekick, so invest in one that’ll last through thick and thin!
Create a Table of Contents
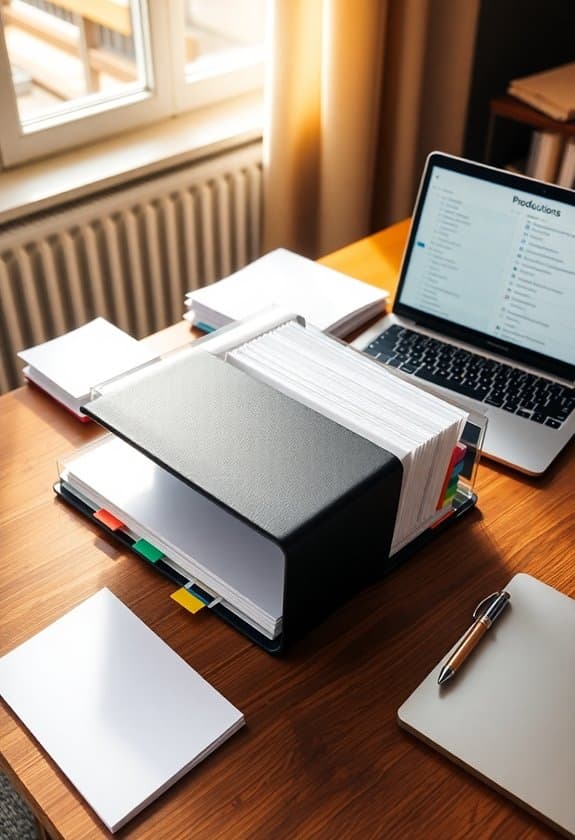
Creating a table of contents is essential for transforming your binder into an efficient production tool.
Just imagine flipping through a chaotic binder, searching for the script or shot list—it’s a nightmare! Your table of contents is like a safety map, guiding you swiftly to the right section.
Start by listing every major document you’ll include, like scripts, schedules, and contact lists. Number the pages and match them to your table of contents. This way, you won’t waste time fumbling through pages during important moments.
I once lost a critical location map during a shoot—talk about stress! Since then, my trusty table of contents guarantees everything’s at my fingertips, keeping production smooth and my nerves intact.
Stay organized and safe!
Organize by Sections
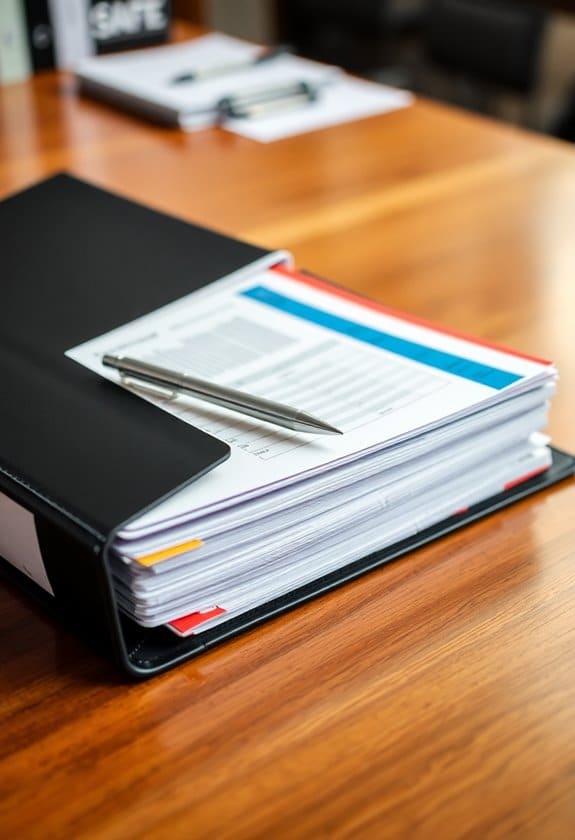
To keep your production binder efficient, start by dividing it into distinct sections. This organization helps you find information quickly, reducing stress and ensuring safety on set. Imagine flipping through a binder during a shoot, trying to locate the safety guidelines—yikes! You don’t want that chaos. Instead, create labeled tabs for each section, like scripts, schedules, and safety protocols.
When I first started filmmaking, my binder was a mess. I learned the hard way that a well-organized binder can be a lifesaver. Use colorful dividers; they not only add fun but also help you spot sections easily.
Keep a section for emergency procedures and equipment checklists, ensuring everyone stays safe. Trust me, a little organization goes a long way in keeping calm and collected! Additionally, consider including a section on equipment maintenance to ensure the longevity and optimal performance of your editing tools.
Include Contact Information

A well-structured production binder isn’t complete without a thorough contact information section.
Imagine being on set, needing to call a team member urgently, but their number’s missing. Not fun, right? Always include contact details for everyone involved—directors, actors, crew, and even vendors.
Safety first! If there’s an emergency, you’ll want quick access to these numbers. I once forgot to include the makeup artist’s contact, and, boy, did that cause chaos when she was late. Lesson learned!
Keep it organized: list names, roles, phone numbers, and emails. Consider adding emergency contacts too. You never know when you might need them.
Trust me, having this info at your fingertips makes everything smoother and keeps everyone feeling secure and connected.
Add a Production Schedule

Without a doubt, adding a production schedule to your binder is essential for keeping the entire project on track. Think of it as your project’s roadmap—without it, you’d be lost, like trying to navigate a maze blindfolded!
A well-organized schedule helps everyone know where they need to be and when ensuring everything runs smoothly and safely. You don’t want anyone missing their cue or showing up at the wrong time, right?
When creating your schedule, be sure to include start and end times, breaks, and any safety briefings.
I once forgot to add a lunch break, and let’s just say, that hungry crew members don’t make for a happy set!
Compile Location Details
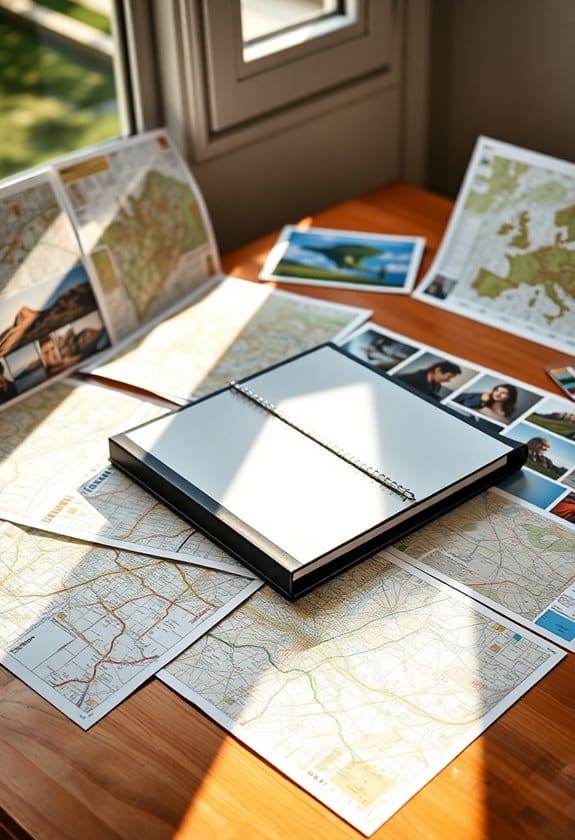
After organizing your production schedule, let’s turn our attention to compiling the location details. It’s like solving a puzzle, fitting together all those pieces to guarantee a smooth shoot.
Start by listing each location, including addresses, contact info, and any special access instructions—like that time I’d to figure out how to open a gate at sunrise! Include safety notes too, such as emergency exits or potential hazards. You want everyone to feel secure, like when you wear your favorite cozy hoodie.
Don’t forget permits; they’re like VIP passes to your film’s success. Also, jot down parking info and nearby amenities. A well-detailed location section guarantees everyone knows where to be, keeping the crew safe and focused on creativity.
Insert Cast and Crew Lists

Now that you’ve nailed down the location details, it’s time to tackle the cast and crew lists. Imagine that your production set is a beehive, buzzing with activity. Keeping track of who’s who’s key to a safe and smooth operation.
Start by listing all cast members with their roles—think of it as your movie’s lineup card. Then, jot down the crew, from the director to the friendly grip who guarantees nobody trips over cables.
Include emergency contacts and any special medical needs, just in case. I remember once forgetting to note an actor’s allergy—yikes! Don’t make my mistake.
Having these lists handy helps everyone feel secure, knowing that their safety is the top priority. Plus, it keeps the hive humming!
Review and Update Regularly

Regular review and updates are the lifeblood of an effective production binder. Imagine forgetting to update a vital location change and sending everyone to the wrong place! Yikes, right? To avoid such chaos, make it a habit to review your binder weekly.
Check that every schedule, contact info, and safety protocol is current. This might sound tedious, but it’s like checking your backpack before a big trip—you want everything in place.
I once overlooked updating a phone number and spent hours trying to reach someone. Lesson learned! Keep sticky notes or set digital reminders to help you.
Frequently Asked Questions
How Can Digital Tools Complement a Physical Production Binder?
You’ve got your trusty physical binder, but digital tools can add a whole new layer of safety and efficiency.
Imagine backing up your schedules and scripts on a cloud service. You won’t ever have to worry about losing your binder to a coffee spill!
Plus, digital tools let you share updates instantly with your team. It’s like having a magic wand that keeps everything in sync, reducing the chaos and boosting teamwork!
What Are Some Creative Ways to Personalize a Production Binder?
Picture your production binder as a trusty old mixtape—it should reflect your unique style.
Start by using colorful dividers to organize sections; it’s like adding tracks to a playlist. Personalize the cover with your name and a fun design, guaranteeing it’s eye-catching.
Inside, include inspirational quotes or doodles to keep the vibes positive.
How Do You Handle Confidential Information Within a Production Binder?
Handling confidential information in a production binder isn’t as tricky as it seems.
You’ve got to treat it like a secret treasure chest. Start by using password-protected digital files, because paper can be a sneaky trickster.
If you’ve got to use paper, keep those pages in a separate, locked section. Remember the time I accidentally left a script out? Learned my lesson!
Trust your instincts, and protect your project like it’s your pet dragon.
What Are the Best Practices for Transitioning From a Physical to a Digital Binder?
Switching from a physical to a digital binder? It’s like moving from a packed backpack to a sleek tablet.
Start by scanning each document—make sure to use a secure app. Organize files into clear folders, like a digital filing cabinet.
Use cloud storage for easy access, but don’t forget to set strong passwords, keeping everything safe.
Trust me, it’s a game-changer! It feels lighter, and you’ll never lose papers again!
How Can You Ensure the Binder Remains Accessible to All Team Members on Set?
Envision this: your entire team, like a synchronized dance troupe, seamlessly accessing the binder.
You’ve got to make certain everyone has the digital link, stored safely on a platform like Google Drive or Dropbox, with clear folder labels.
It’s like sharing your favorite snacks—everyone needs a taste!
Regularly remind them to download updates, just like you’d remind a friend to check their email.
Trust me, making accessibility keeps everyone in the loop and stress-free!


