When you’re shooting black-and-white films, lighting is like your secret weapon. Use chiaroscuro techniques to play with dramatic light and shadow, bringing suspense to your storytelling. Ever tried high-key lighting? It’s great for a bright and cheerful vibe—perfect for happy moments. For a mysterious feel, low-key lighting is your best friend, hugging the scene with moody shadows. Silhouettes and backlighting can add depth and intrigue without spilling all the beans. Just watch out for those pesky cables on set! With these tricks up your sleeve, you’ll reveal the magic of monochrome visual stories and might just discover more hidden gems.
Important Highlights
- Chiaroscuro techniques utilize contrasts between light and shadow to enhance mood, depth, and visual storytelling in black-and-white films.
- High-key lighting creates bright, evenly lit scenes with minimal shadows, ideal for lively, welcoming atmospheres in monochrome visuals.
- Low-key lighting emphasizes suspense and tension through shadows and contrasts, enhancing noir-style scenes in black-and-white cinema.
- Silhouette techniques transform characters into dramatic outlines, using backlighting to evoke emotions without detailed visuals.
- Proper lighting enhances texture and detail, crucial for creating depth and dimension in black-and-white film scenes.
The Art of Chiaroscuro
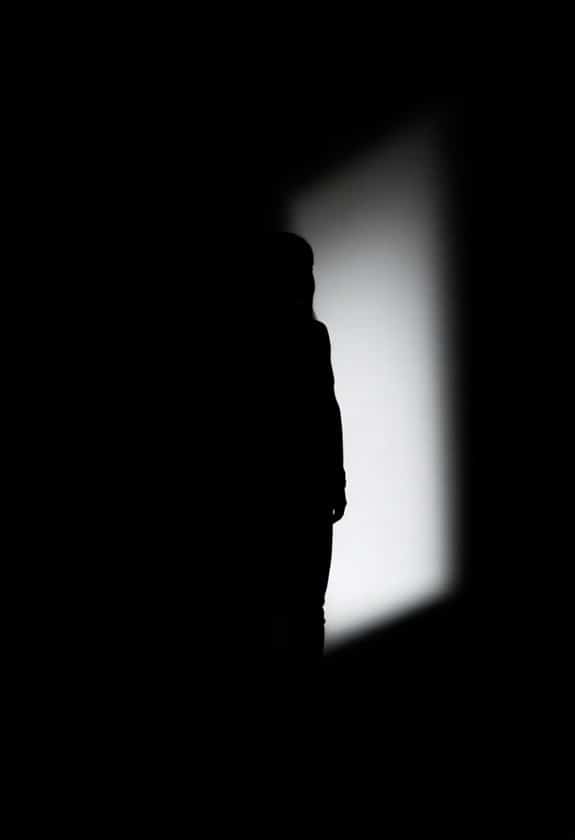
Chiaroscuro’s dramatic interplay of light and shadow is essential in creating mood and depth in black-and-white films.
Picture yourself in a cozy theater, the screen flickering to life. You see shadows dance across the actor’s face, emphasizing their emotions. This technique helps you feel safe like you’re wrapped in a warm blanket of visual storytelling.
As a filmmaker, you can use chiaroscuro to guide your audience’s eyes to what’s important. I remember my first film project—nervously experimenting with shadows to evoke mystery. It was like painting with light!
You’ll soon discover how a well-placed shadow can create suspense or highlight a character’s struggle. So, don’t be afraid to play with light; it’s your most powerful tool. Utilizing tools like the Glide Gear BFS 100 modular sizes can enhance your chiaroscuro technique by providing professional diffusion options.
High Key Lighting
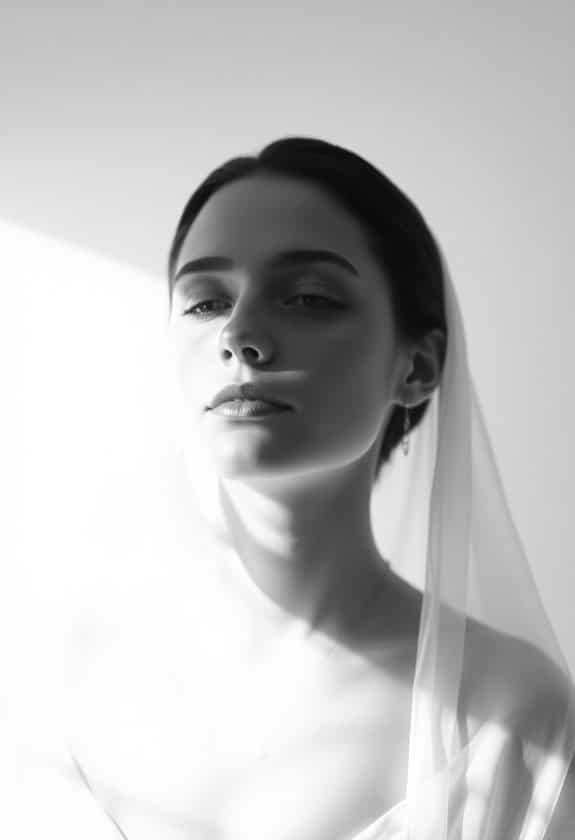
In contrast to the dramatic effects of chiaroscuro, high-key lighting creates a bright, evenly lit scene where shadows are minimal. You’ll find this technique perfect for comedies or scenes needing a cheerful, safe vibe. Imagine the sunniest day at the beach, where everything seems open and welcoming. It’s like that but on film!
When I first tried high-key lighting, I was amazed at how it made everything feel so friendly and approachable.
To achieve this, use multiple light sources and keep the contrast low. This technique guarantees your audience feels comfortable, like a warm hug from a favorite movie. Additionally, ensuring optimal visibility with brightness levels between 300 to 1000 lumens can enhance the effectiveness of high-key lighting.
Plus, it’s easier to set up than you might think, making it a reliable choice when you need consistency and clarity.
Low Key Lighting
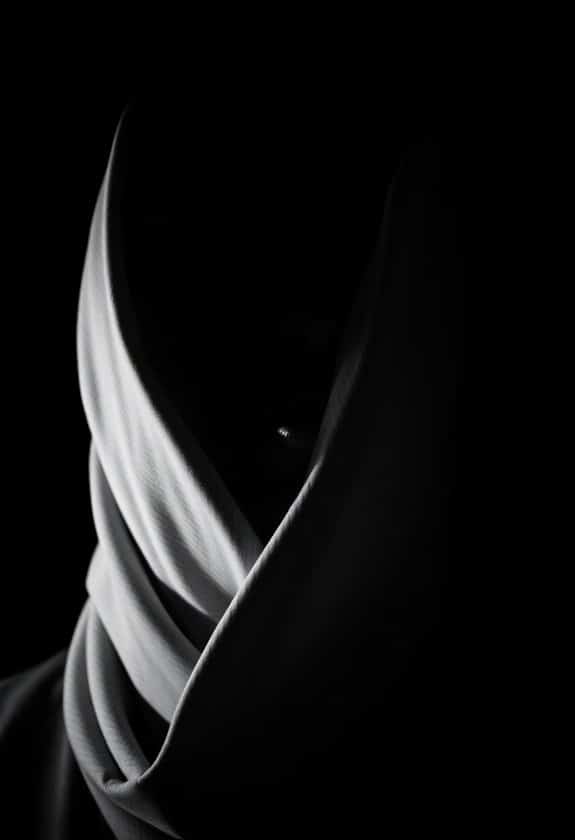
While high-key lighting bathes scenes in brightness and warmth, low-key lighting takes a turn towards the mysterious and intense. You’ll find it’s perfect for creating suspense or highlighting tension in a scene.
By using shadows and contrasts, you can make your characters or objects pop against the background. Imagine a detective stepping out of the shadows, his face half-lit—it’s like a scene from your favorite noir film.
When you’re setting up low-key lighting, don’t forget safety. Always secure your lights properly, and watch those cables! It’s easy to get lost in the creative process, but you don’t want any accidents.
Trust me, I’ve stumbled over a light stand or two in my time. The results? Worth every careful step. Additionally, consider investing in high-quality lighting gear to enhance your low-key setups and achieve that cinematic look.
Silhouette Techniques
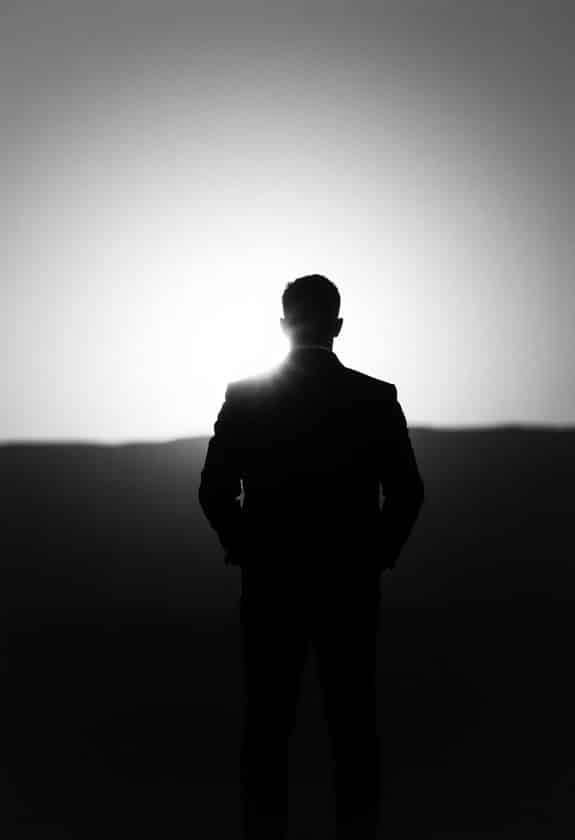
Silhouette techniques add a dramatic flair to black-and-white films by transforming characters into striking outlines against a lit background.
Imagine watching a scene where a character’s shadowy figure moves gracefully, creating a sense of mystery and intrigue. You can achieve this effect by placing your light source behind your subject, ensuring safety by securing equipment and cables out of the way.
It’s like painting with shadows, allowing the story to unfold in a visually enthralling way. I remember my first attempt at this technique—I accidentally tripped over a light stand! So, double-check your setup.
Silhouettes can evoke emotions without revealing too much detail, making them a powerful tool in your filmmaking arsenal. Embrace the shadows, and let your creativity shine!
Backlighting Effects
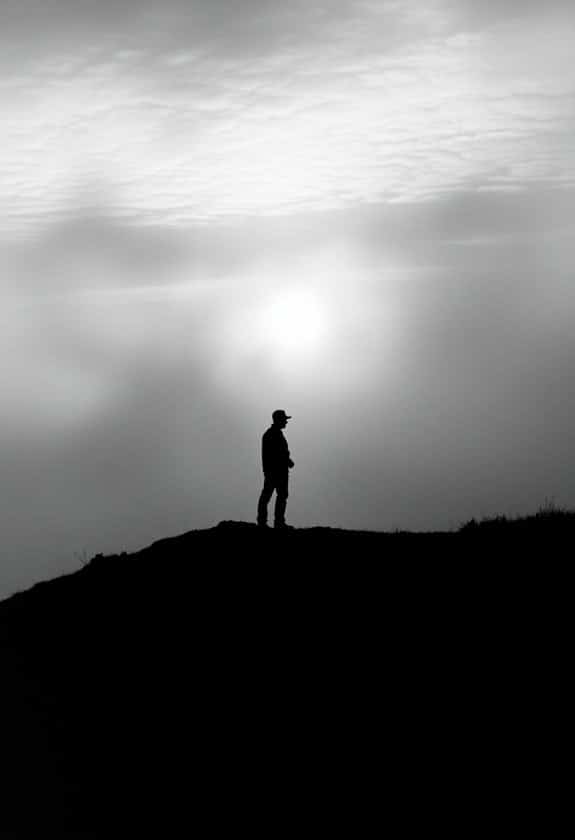
When mastering black and white film, backlighting effects can elevate your scenes, providing depth and a sense of dimensionality.
Imagine this: you’re filming a detective walking through a foggy alley, and the streetlamp behind them creates a halo effect. It’s like magic, isn’t it? Backlighting not only highlights the silhouette but also gives the scene a mysterious aura.
You’ve got to guarantee your actor is safe, though—keep cables tidy and check equipment stability. It’s all about creating that enchanting look without any mishaps.
In one of my early projects, I learned the hard way when a light stand tumbled down. Thankfully, no one was hurt, but ever since, I triple-check everything.
Contrast and Depth
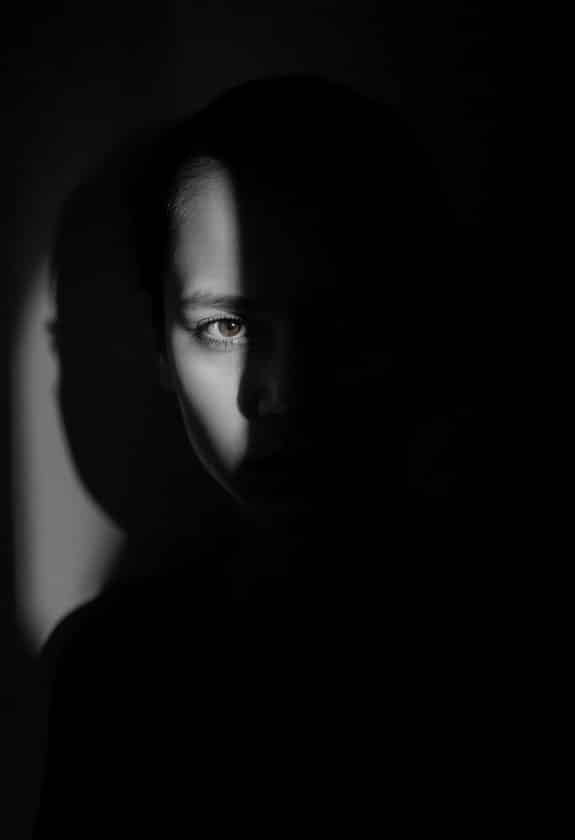
Creating contrast and depth is essential in black-and-white films, as these elements transform a flat image into a dynamic visual story.
You’ve probably noticed how some movies just draw you in, making you feel like you’re right there with the characters. That’s the magic of contrast! By carefully balancing light and dark tones, you can make sure each scene feels real and inviting, like a cozy blanket on a chilly night.
Think about it like painting; you wouldn’t use just one color, right?
Play with brighter lights in key areas to highlight important details and let the deeper shadows give everything a sense of mystery and allure. Using tools like softbox lights can help you achieve this perfect balance of light and shadow.
With practice, you’ll create images that are both safe and engaging, ensuring your audience stays engaged and comfortable.
Use of Shadows
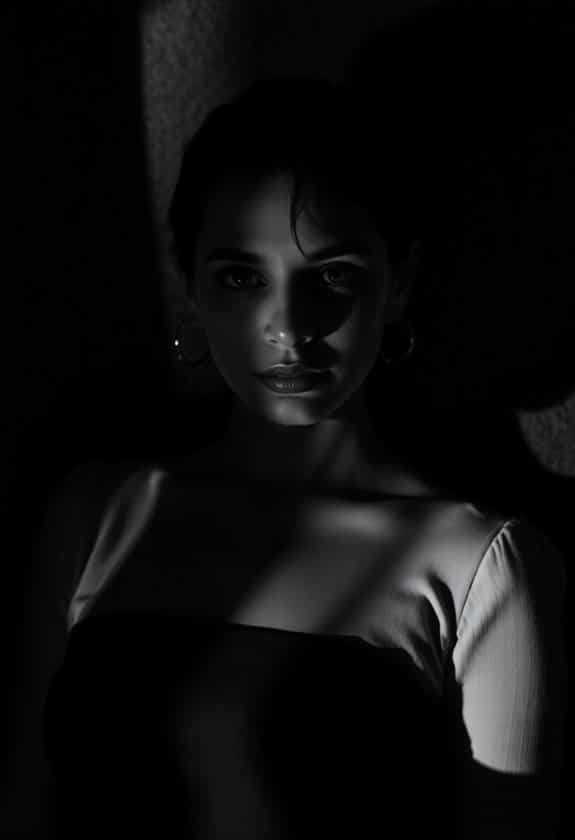
Often, shadows play an essential role in black-and-white films, offering a powerful tool for storytelling and mood setting.
Imagine you’re crafting a mysterious scene; shadows can transform a simple room into a suspenseful space. They can hide details, making viewers curious about what’s lurking in the dark. You might find it fascinating how shadows create depth, almost like they’re whispering secrets that only the characters know.
Once, I tried filming a scene without shadows, and it felt strangely flat, like a pancake without syrup—yikes!
So, use shadows to guide your audience’s emotions. Keep them safe by controlling how much they see, and letting their imaginations fill the gaps.
Rim Lighting Techniques
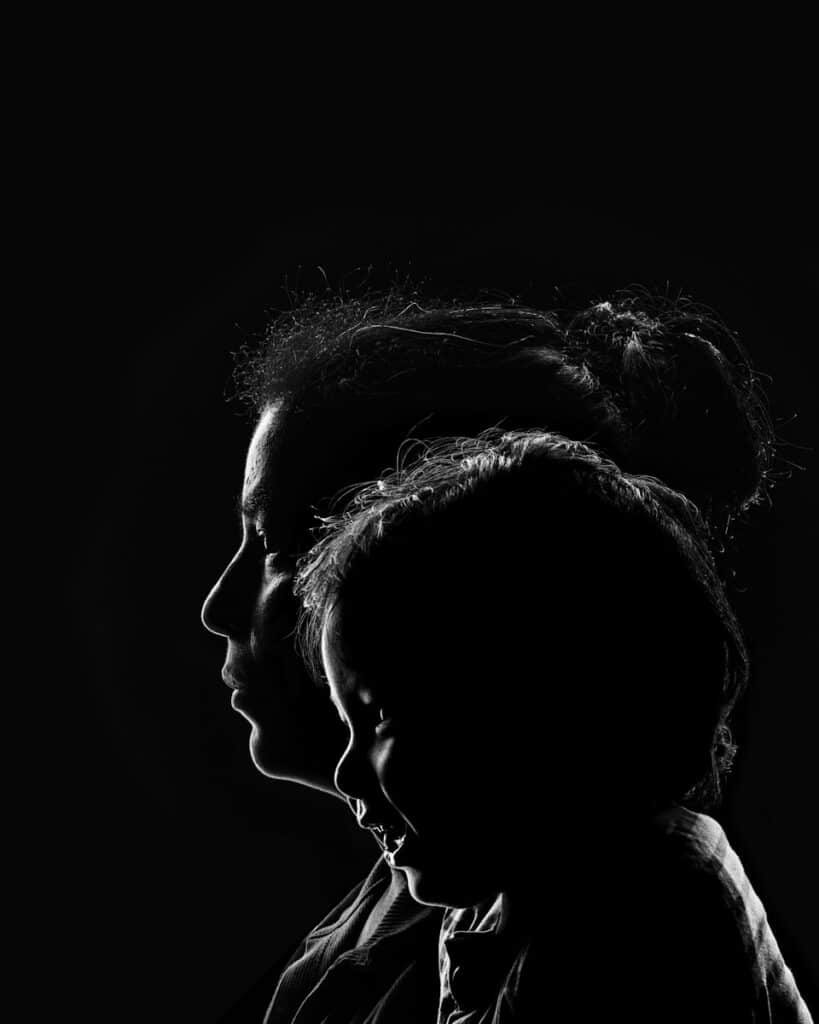
Rim lighting captures your attention by outlining a subject with a bright edge, creating a stunning contrast against a darker background. Imagine your favorite superhero, standing proud, with a glowing outline that makes them pop. That’s rim lighting in action!
To achieve this, position a light source behind the subject, ensuring it doesn’t spill into the camera lens. You’ll want to keep the light soft and diffused to maintain safety and avoid harsh shadows. It’s like giving your subject a halo, making them feel both powerful and secure.
I remember experimenting with rim lighting in my first film project. It was a bit tricky, but seeing that glowing edge appear made my heart skip a beat. It just made everything look so professional and compelling!
Lighting for Texture
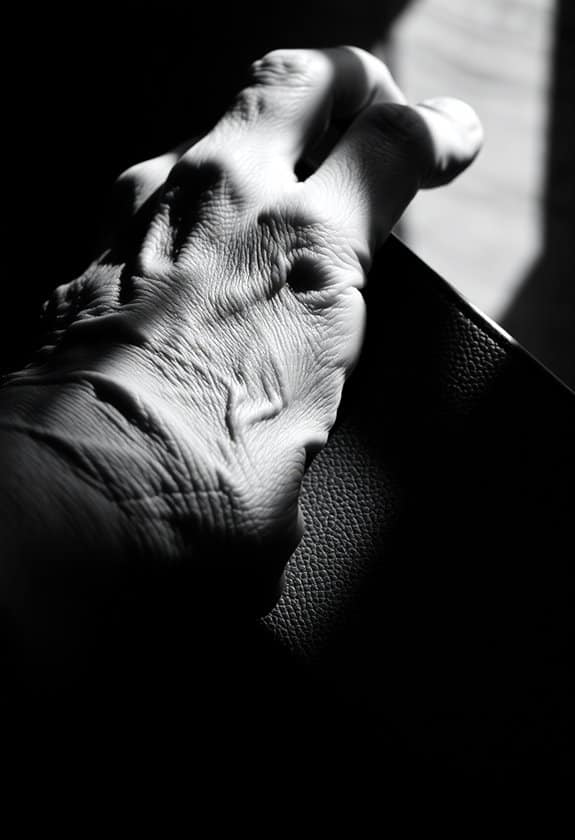
While watching a black-and-white film, you might wonder how filmmakers make textures so vivid and lifelike.
It’s all about using light to bring out the details safely. You’ll want to play with shadows and highlights, almost like painting with light, to make surfaces pop.
Here’s how you can do it:
- Use Side Lighting: This technique can create shadows that accentuate textures, giving depth and dimension. Imagine how a rough brick wall would look under a side light.
- Experiment with Hard Light: Hard light creates stark contrasts that highlight textures. Think of it as nature’s spotlight.
- Position Lights at Low Angles: This can make even the tiniest details stand out, like the grain in wood.
- Vary the Distance: Moving lights closer or further can change the intensity, revealing different textures.
Practical Lighting Tips
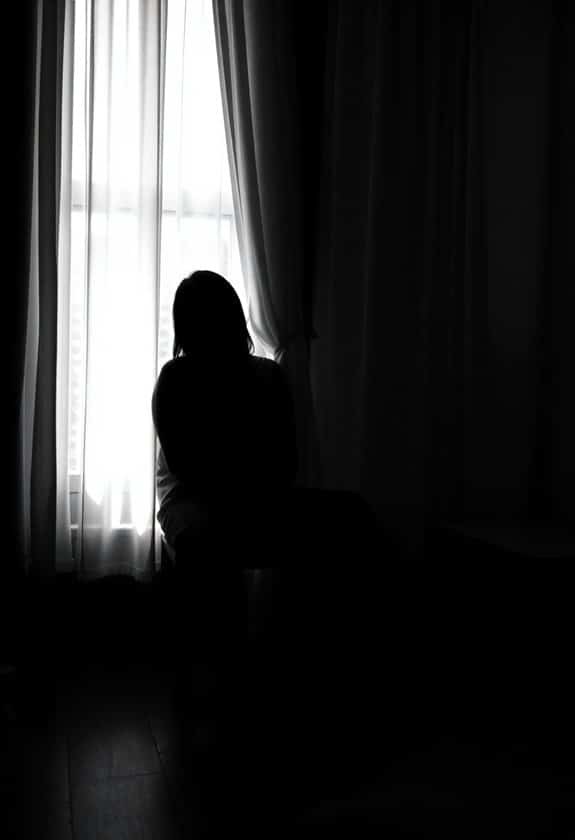
When working on black-and-white films, mastering practical lighting is essential for achieving enchanting visuals. You want to create a mood that draws viewers in without compromising safety on set.
First, consider using natural light. It’s free, and it gives a soft, even glow that can make your scenes feel authentic. My first film? Let’s just say the sun was my best friend! But don’t rely solely on it; weather can be unpredictable.
Next, experiment with household lamps for a cozy, controlled ambiance. Position them at different angles to see how shadows play out.
Always guarantee cords are taped down to avoid tripping hazards. And remember, less is often more—sometimes a single light source can add depth and mystery to your shot. Additionally, consider investing in softbox lights for more versatile and flattering lighting options.
Frequently Asked Questions
How Does the Choice of Film Stock Affect Lighting in Black and White Films?
They say, “Don’t judge a book by its cover,” but in filmmaking, the film stock can be a game-changer.
When you’re shooting black and white, choosing the right film stock is like picking the right ingredient for a recipe. Some stocks are more sensitive to light, affecting how shadows and highlights appear.
Once, I picked the wrong stock and everything looked washed out!
What Role Does Camera Angle Play in Enhancing Lighting Effects?
You know, camera angles are like the secret sauce in filmmaking.
When you tilt the camera just right, it can make shadows dance or highlight details you might miss otherwise.
Imagine you’re holding a flashlight under your chin; it’s spooky, right? That’s because of the angle!
By experimenting with angles, you can create mood and depth safely, just like playing with shadows in your room.
It’s fun and expressive!
How Can Digital Post-Processing Complement Traditional Lighting Techniques?
Ever wonder how digital post-processing can make your lighting pop?
Imagine tweaking shadows and highlights for that perfect dramatic effect. You can safely adjust contrast and brightness to enhance your film’s mood, creating an enchanting atmosphere.
I once spent hours perfecting a scene, only to realize technology could boost what traditional lights couldn’t. It’s like adding sprinkles to your ice cream—just a little touch, but it makes all the difference!
Are There Any Specific Lighting Techniques for Outdoor Black and White Scenes?
You’ll want to play around with natural light when shooting outdoor black and white scenes. It’s your best friend, really!
Overcast days are perfect because the clouds act like a giant softbox, giving you even lighting. If it’s sunny, use tree shadows to create interesting patterns.
I remember once trying to capture a moody scene, and a well-placed shadow did wonders.
Safety tip: always be mindful of slippery terrain or unpredictable weather!
How Do Different Eras of Filmmaking Influence Lighting Choices in Black and White Films?
Imagine the flickering candle of time casting shadows on the evolution of film lighting.
In the silent film era, you’d rely on natural light, creating soft, safe shadows that whisper stories.
Jump to the noir craze, and you’d paint with light, using stark contrasts to capture suspense.
Think of how safety nets, like diffused light, help avoid harsh glares, ensuring viewers feel comfortable while immersed in the film’s tale.


