To ace interview lighting, you’ve got to choose the right light source; natural light rocks, but mix it up with soft lamps to avoid harsh shadows. Imagine your main light as a friendly giant—above eye level, in front, and never overhead. Balance is key, so blend sunlight and soft lamps, like mixing lemonade with just enough sugar—bright but not blinding. Keep shadows and glare out of the picture with well-placed lights at 45-degree angles—they’re like magic wands for great visuals. And, don’t forget to adjust for skin tones using diffused lights. Immerse yourself in these tips for lighting magic!
Important Highlights
- Use natural light from windows or soft lamps to avoid harsh shadows.
- Position the main light source above eye level and directly in front.
- Blend natural and artificial light sources for balanced illumination.
- Place lights at a 45-degree angle to minimize shadows and glare.
- Adjust lighting warmth to complement different skin tones effectively.
Choose the Right Light Source
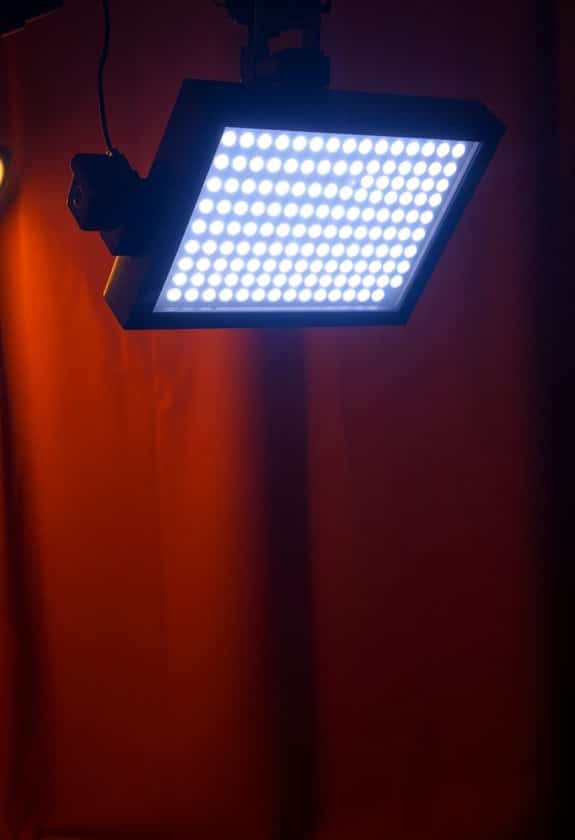
When you’re preparing for an interview, choosing the right light source is essential to making a great impression.
Imagine this: you’re on screen, but you look like a shadowy figure in a mystery movie—yikes! You want to guarantee your face is well-lit so you appear friendly and confident.
Natural light is your best friend. If you’ve got a window, use it! But be cautious; sometimes, the sun’s rays are too harsh. A soft lamp can work wonders, spreading light evenly without blinding you.
Using tools like the Etekcity 5-in-1 Reflector can help you manipulate light effectively and soften harsh shadows.
I’ve learned the hard way that a single overhead bulb can make you look like you’re telling ghost stories. So, mix light sources for a balanced look.
Position Your Lighting Correctly
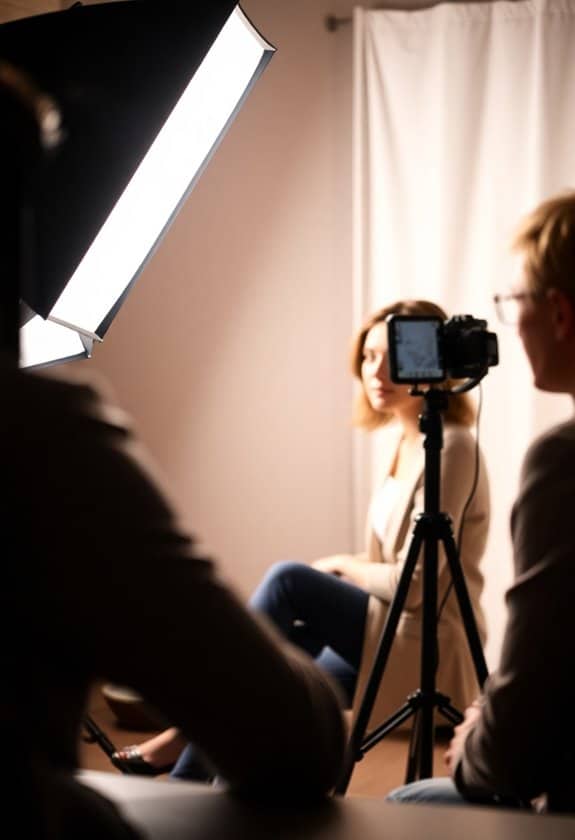
Proper positioning of your lighting can transform your video interview experience from frustrating to flawless.
Imagine sitting in front of a camera, feeling confident and safe, knowing your lighting is just right. Here’s how you can achieve that:
- Light in Front of You: Place your main light source slightly above eye level and in front to avoid shadows that make you look like you’ve been telling ghost stories.
- Avoid Overhead Lights: They cast shadows that can make you look tired. Not the best look for an interview, right?
- Side Lighting: Use a softer light on one side to add depth to your face. It’s like giving your cheeks a gentle hug with light.
- Using high-quality softbox lights can greatly enhance the clarity and professionalism of your interview setup.
Balance Natural and Artificial Light
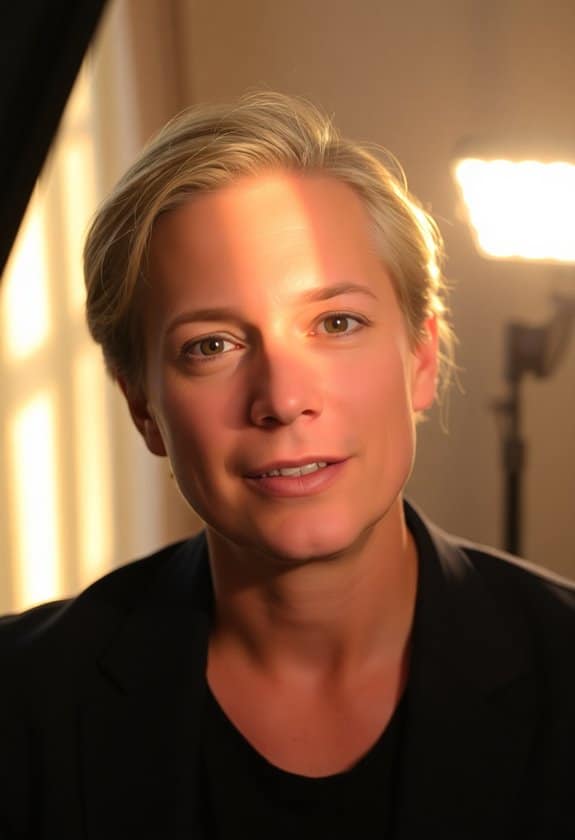
How can you create the perfect blend of natural and artificial light for your video interview? Imagine you’re in a cozy room with a big window, letting in loads of lovely sunlight.
But wait—it’s not enough! You need artificial light to fill in the gaps. Use a soft light lamp to balance the brightness, making sure your face is evenly lit.
I’ve learned that placing the lamp at a slight angle helps mimic natural light, avoiding harshness. It’s like painting with light, mixing just the right shades to make you look your best. Additionally, incorporating soft diffusion in your lighting setup can help reduce harsh shadows, enhancing the overall quality of your video.
Avoid Shadows and Glare
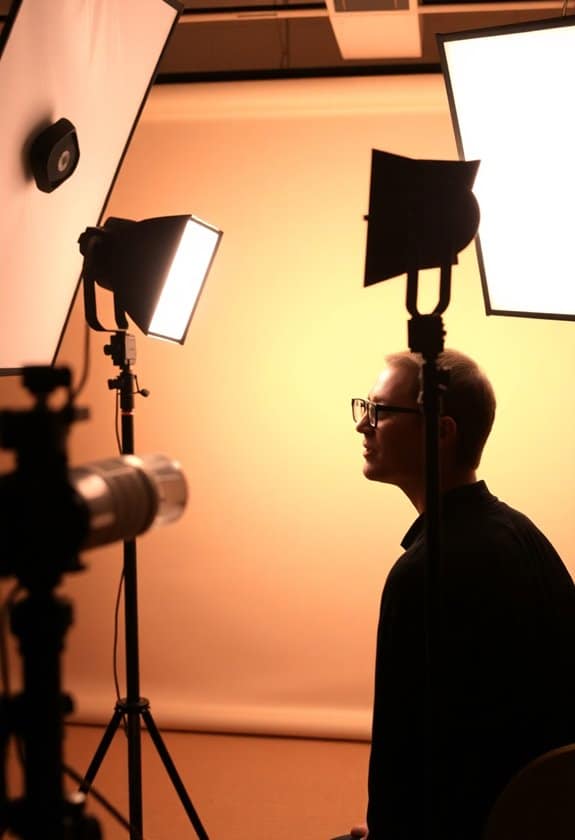
While setting up your lighting for an interview, it’s important to avoid shadows and glare that can distract from your presence.
Imagine a shadow creeping across your face like a sneaky ninja or a glare bouncing off your glasses like a disco ball—both can be distracting!
To guarantee safety and clarity, consider these tips:
- Position lights at a 45-degree angle: This helps to evenly illuminate your face and reduce harsh shadows.
- Use diffusers: Softening the light prevents glare and creates a pleasant atmosphere.
- Check your background: Make sure there aren’t any reflective surfaces that could cause unwanted glare.
I’ve learned this from my own filmmaking adventures, where avoiding these pitfalls made interviews feel more comfortable and professional. Additionally, using top portable lighting options can enhance your setup, making it easier to achieve the desired effect.
Adjust for Different Skin Tones
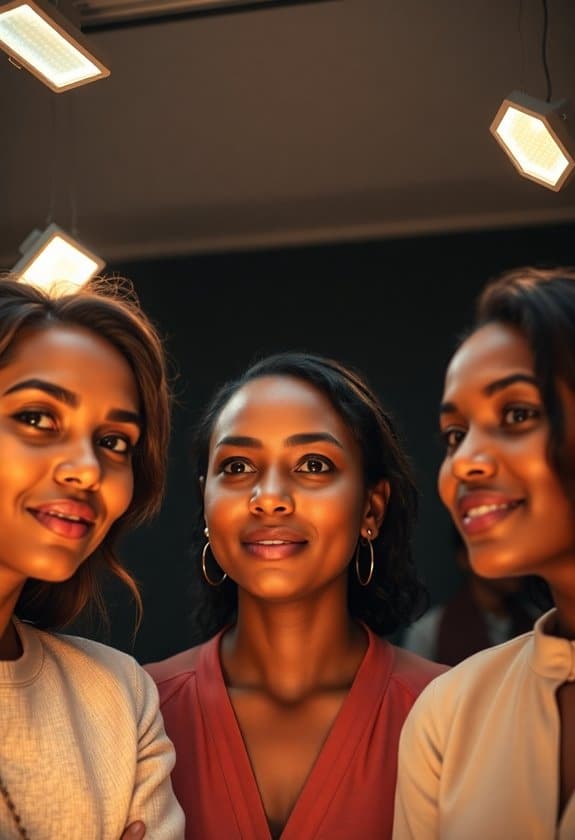
Lighting is more than just about brightness; it’s about ensuring everyone looks their best, regardless of skin tone.
I remember my first interview shoot, struggling to make sure everyone looked great on camera. Different skin tones reflect light differently, so it’s essential to adjust your lighting to be fair to all.
Use soft, diffused light to avoid harsh contrasts. For darker skin tones, warm lights can bring out natural undertones, while cooler lights work wonders for lighter skin. Incorporating a ring light with adjustable brightness levels can further enhance the lighting setup for various skin tones.
Try using reflectors or bounce cards to even out shadows. It’s like painting with light—carefully balancing colors to highlight every unique face.
This attention to detail not only enhances appearance but also creates a welcoming and respectful environment for your interviewees.
Frequently Asked Questions
What Are the Best Budget-Friendly Lighting Options for Interviews?
You’ve got some great budget-friendly lighting options for interviews.
Try using a ring light; it’s affordable and gives a nice, even glow.
Or, grab a couple of LED panels; they’re versatile and easy to adjust.
If you’re into DIY, clamp lights with daylight bulbs work wonders.
I remember when I started filming, and these were lifesavers!
Just play around, see what suits your style, and make sure everything’s safe and secure.
How Can I Maintain Consistent Lighting in Outdoor Settings?
Imagine you’re setting up an outdoor interview under a sunny sky, and suddenly, a cloud decides to photobomb your perfect shot.
To maintain consistent lighting, carry a portable reflector or diffuser. These tools help balance shadows, and control brightness, keeping your subject safe from harsh light.
I’ve learned this the hard way, forgetting my gear once and ending up with a “mood lighting” that wasn’t quite the vibe I wanted.
What Are the Best Practices for Lighting in Small Spaces?
Lighting in small spaces can feel like a puzzle, right?
First, use soft, diffused light to avoid harsh shadows—think lamps with shades or LED panels.
Position lights at different angles to fill the space evenly.
If you’ve ever tried filming in a cramped room, you know natural light can be tricky, so try bouncing light off walls for a softer effect.
And hey, don’t forget to check for unwanted reflections or glare!
How Does Lighting Affect the Mood and Tone of an Interview?
Lighting in an interview is like setting the stage for a play; it shapes the mood and tone dramatically.
Imagine a cozy, warm glow; it makes everyone feel safe and relaxed, fostering open conversations. But stark, harsh lights can make things feel tense and uncomfortable, like you’re under a spotlight for a school play.
I’ve learned through trial and error that soft, even lighting invites honesty, while shadows can unintentionally create mystery.
What Are Some Common Lighting Mistakes to Avoid During Interviews?
You’ve got to avoid common lighting mistakes in interviews, like harsh lighting that makes everyone look like they just saw a ghost.
Don’t forget about shadows; they can creep in and make it look like you’re in a spooky movie.
Always check your angles, so you don’t end up with weird reflections.
Once, I filmed an interview with a light right above our heads, and we all looked like raccoons!
Keep it balanced and natural.


