Mastering lighting for night scenes is like painting with shadows and light, and it’s a lot easier with a sturdy tripod and a fast lens. Grab a remote shutter so your camera won’t wobble like jelly. Street lamps and moonlight are your new best pals, but watch out for those pesky car headlights! Mixing natural and artificial light is like baking a cake—get the balance right, and it’s perfection. Boost your skills by adjusting ISO settings and using long exposure. Don’t skip on post-processing to add subtle tweaks. With practice, you’ll capture night scenes like a pro, revealing secrets you might not expect.
Important Highlights
- Use a sturdy tripod to maintain stability and reduce blur during long exposure shots.
- Balance natural and artificial light by gradually adding soft lighting to avoid harsh shadows.
- Adjust ISO, shutter speed, and aperture for optimal exposure while minimizing noise and blurriness.
- Observe and utilize existing light sources like moonlight and street lamps to create ambiance.
- Post-process images with exposure adjustments and noise reduction to enhance details and maintain night scene integrity.
Essential Equipment for Night Photography
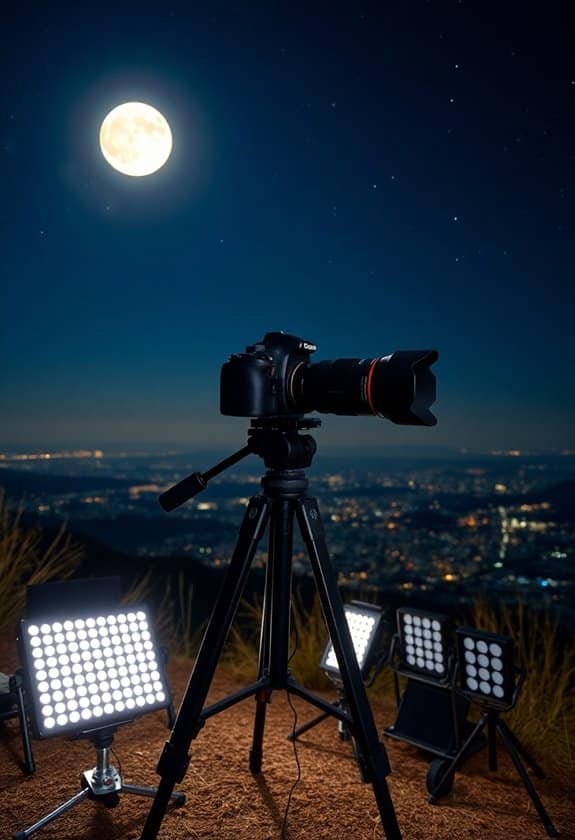
Capturing stunning night scenes requires more than just a camera and a lens; you need the right equipment to bring out the best in low-light conditions.
Let me tell you, having a sturdy tripod is your new best friend. It keeps your camera steady, especially when those long exposure shots come into play. You don’t want blurry photos, right?
A fast lens with a wide aperture is also essential, letting more light hit the sensor, which is a lifesaver when it seems like the world is wrapped in darkness.
Don’t forget a remote shutter release to avoid camera shake and a flashlight to keep you safe and help navigate in the dark.
Investing in the right essential tripods can greatly enhance your stability and overall night photography experience.
With this gear, you’re ready to capture the magic!
Understanding Light Sources
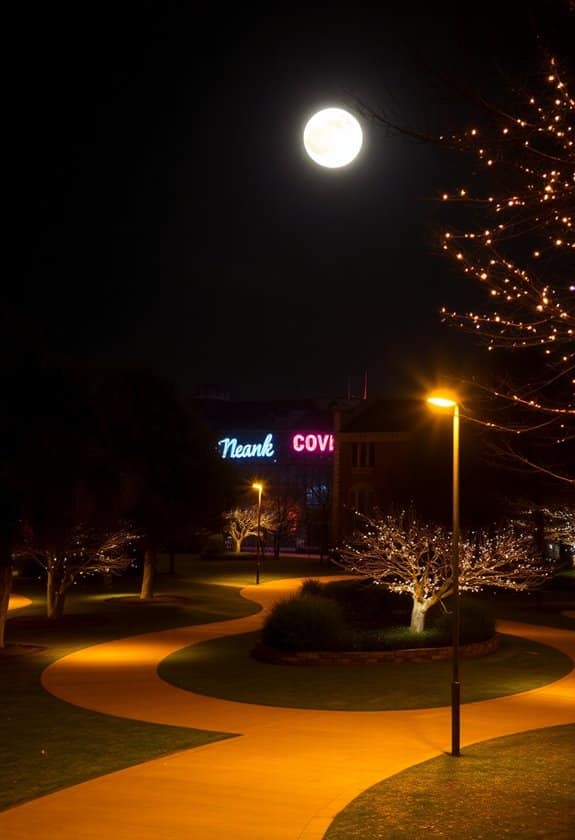
When you’re shooting at night, understanding the various light sources around you becomes essential.
Believe it or not, street lamps, car headlights, and even the moon can be your best friends or your worst enemies.
With a little practice, you’ll start to see how these sources add drama or mystery to your scenes.
It’s like nature’s way of giving you a special effects team for free!
Balancing Natural and Artificial Light
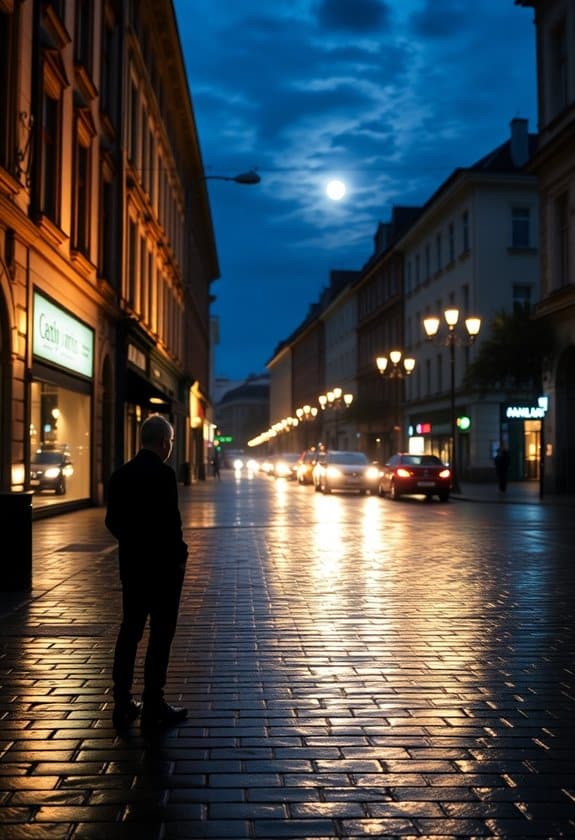
Achieving the perfect balance between natural and artificial light is essential in creating stunning night scenes. Imagine this: you’re filming a spooky forest scene, and the moon casts eerie shadows, but you also need a touch of artificial light to highlight your actors’ faces. You don’t want it to look like a deer caught in headlights!
Start by evaluating the natural light available—moonlight, street lamps, or even a distant bonfire. Then, add artificial light gradually. Use soft lighting to maintain a natural look and avoid harsh shadows that can distract or even startle your audience. Consider using softbox lights to create an even and flattering illumination that enhances the mood of your scene.
Techniques for Controlling Exposure
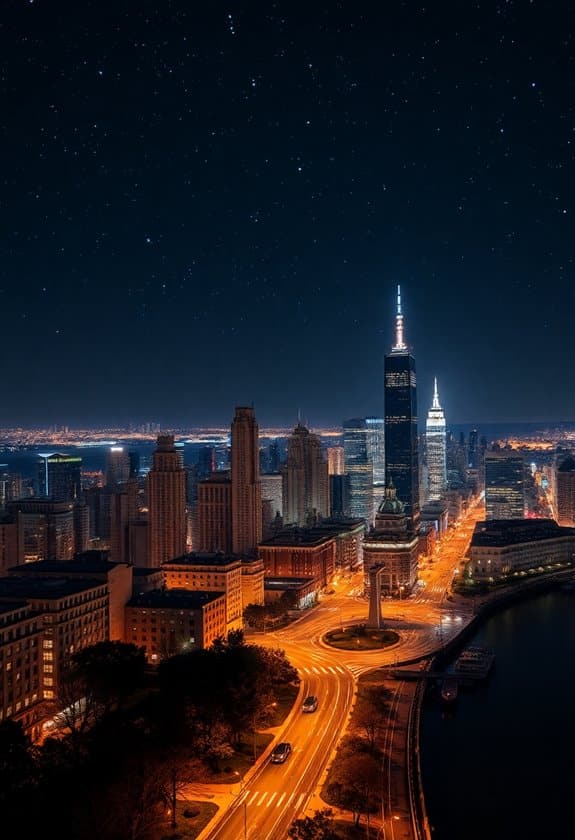
Nailing the right exposure in night scenes can make all the difference in your visuals. You want to capture the magic without losing important details or ending up with a too-dark or too-bright image.
One trick is adjusting your camera’s ISO settings. Think of ISO like a flashlight; too high, and things get noisy, too low, and you might miss something. It’s like Goldilocks finding the perfect porridge!
Next, play with your shutter speed—it’s about balance. Too fast, and you miss the glow; too slow, and everything’s blurry.
Finally, your aperture controls how much light your lens lets in. A wider aperture (lower f-stop) helps gather more light, but be careful not to blur out important elements. Additionally, using a lens with image stabilization can greatly improve your results in low-light conditions by reducing camera shake.
Creating Mood With Lighting
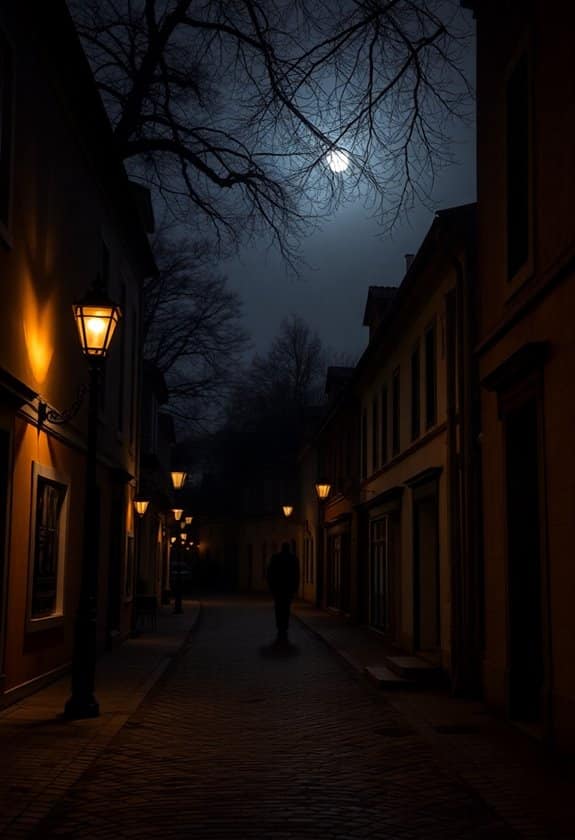
To create a mood with lighting in night scenes, focus on how different light sources can evoke emotions and set the tone. Envision this: a warm, golden light can make a scene feel safe and cozy, almost like a comforting hug. You might use this in a scene where characters gather around a campfire, sharing stories.
On the other hand, cool blue lights can add mystery and suspense, perfect for a thrilling adventure or an eerie walk in the woods.
I remember struggling with my first night shoot, worried about getting it right. However once I realized that lighting could tell its own story, it became an exciting challenge rather than an intimidating task. Utilizing tools like the Etekcity 5-in-1 Reflector can enhance your ability to manipulate ambient light and create the desired mood effectively.
Using Long Exposure Effectively
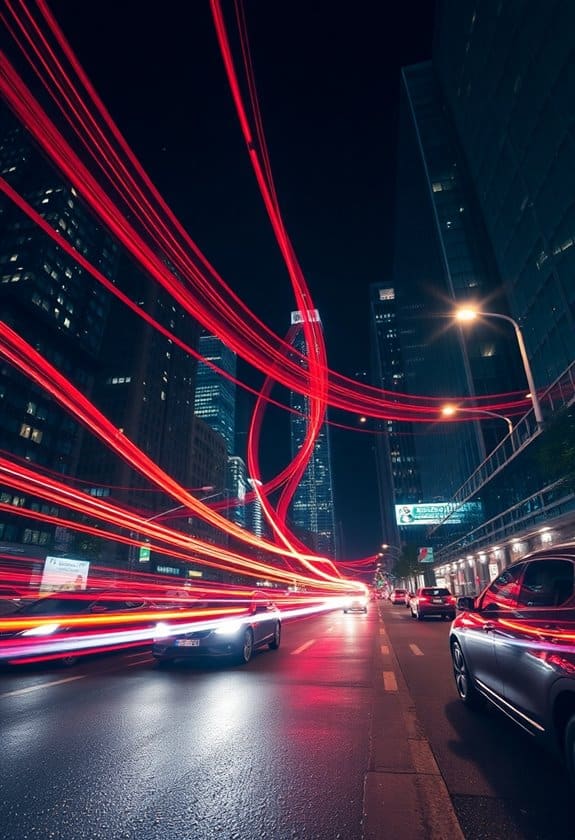
When you’re capturing night scenes, long exposure techniques can transform your photography by revealing hidden details and creating stunning effects. Imagine capturing the stars as they trail across the sky or the magical blur of city lights.
To start, you’ll need a sturdy tripod to keep your camera steady—safety first! Set your camera to manual mode, so you can control shutter speed and aperture. A longer shutter speed lets in more light, but watch out for overexposure.
I remember my first long exposure shot; I was thrilled to see the soft glow of street lamps dance on the water. Experiment with different times, like 10 or 20 seconds, to find what works. A good quality tripod can provide enhanced stability and ensure that your images are sharp and clear during long exposures.
But, patience is key here, and don’t forget to have fun!
Post-Processing Night Photos
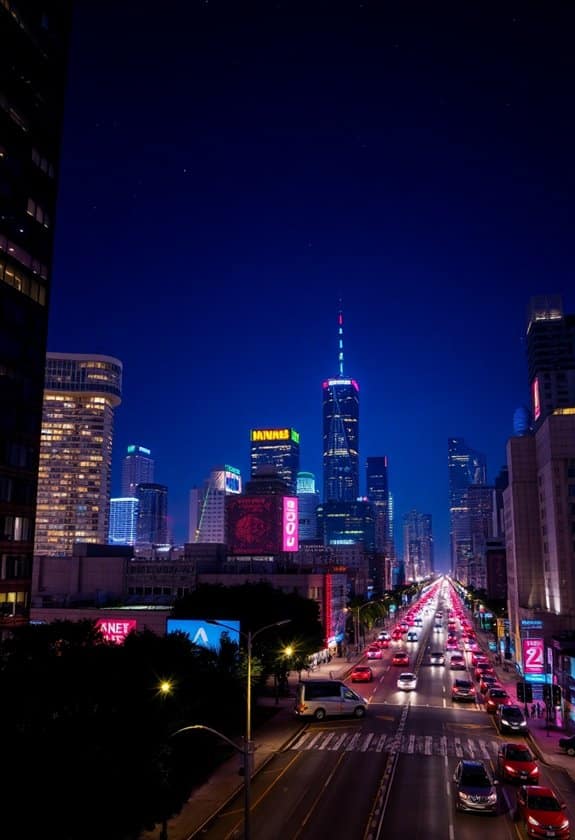
Post-processing night photos is an essential step that can elevate your images to the next level.
You’ve captured the beauty of the night, but now it’s time to polish those shots. Start by adjusting the exposure to bring out hidden details without overdoing it—remember, subtlety is your friend.
Boost the contrast to make those stars pop, but don’t make it look like daytime. If colors seem off, tweak the white balance to reflect the true hues of the night sky.
Noise can be a pesky intruder in night photos, so use noise reduction tools carefully to keep your images crisp.
I once spent hours perfecting a starry skyshot, only to realize I’d overdone the edits. Keep it balanced for safety and beauty!
Advanced Lighting Techniques
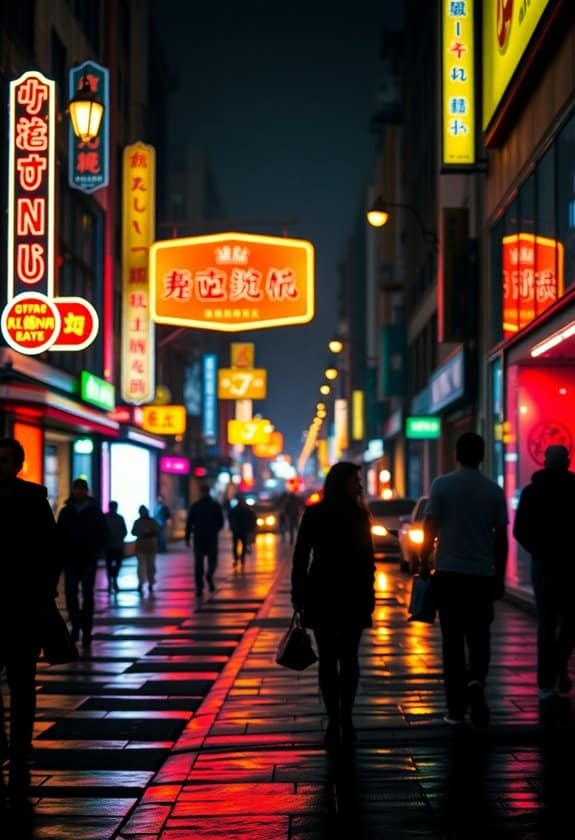
Capturing the perfect night scene isn’t just about having the right gear; it’s about mastering advanced lighting techniques that can transform your photos.
Imagine you’re out in the dark, camera-ready, but the scene just isn’t popping. That’s when you bring out your secret weapon: light painting. Grab a flashlight and “paint” your scene with light, creating stunning, unique effects.
Ever tried backlighting? Position a light source behind your subject to create a glowing silhouette, giving your photo a mystical vibe. Using soft diffusion techniques, such as those provided by softbox lights, can also enhance the overall quality of your nighttime images.
Safety tip: always check your surroundings and make sure you’re in a well-known area before setting up. Trust me, I once got so lost in the moment, that I almost left my tripod behind!
Keep experimenting, and you’ll soon capture the night magic.
Frequently Asked Questions
What Are the Best Safety Practices for Nighttime Photography?
Venturing into the night for photography can feel like entering a shadowy dance, where safety is your partner.
Always let someone know your location like you’re leaving breadcrumbs in a fairytale. Bring a buddy if you can, because two sets of eyes are better than one.
Use a headlamp to light your path, but don’t blind yourself with too much light. Trust your instincts, they’re your secret weapon!
How Can I Find Ideal Locations for Night Photography?
To find the perfect spots for night photography, start by exploring familiar areas during the day.
You’ll feel safer and can spot unique features. Use apps like Google Maps to scout locations and check out online photography forums for local tips.
Don’t forget to bring a buddy—it’s safer and more fun!
I once stumbled upon a hidden city park that was just magical under the stars, all because I dared to explore a new route.
What Are Some Common Mistakes to Avoid in Night Photography?
Diving into night photography can be like exploring a mystical forest—you need the right path to avoid missteps.
First, don’t forget your tripod; shaky hands can ruin a great shot. Overexposing your images is another biggie; it’s like turning on a flashlight in a dark room.
Always check your camera settings, and don’t rely solely on auto-mode.
And hey, remember to stay safe. Night adventures can be thrilling but unpredictable, so stay aware!
How Do Weather Conditions Affect Night Photography?
Weather conditions can really shake up your night photography game.
Imagine trying to capture the perfect shot, only to have clouds mess with your lighting. Rain can be a real downer, causing reflections and making surfaces slippery—safety first, folks!
The wind might blur your shots, so keep that tripod steady.
Once, I braved a storm for the perfect shot, but ended up with soaked sneakers and a blurry picture.
Stay dry and patient!
How Can I Keep My Camera Steady Without a Tripod at Night?
Picture yourself as a human tripod, steady and reliable.
To keep your camera steady without a tripod at night, brace yourself against a sturdy surface, like a tree or a lamppost. Tuck your elbows in and hold your breath while you click. Use a camera strap around your neck for extra support.
I once balanced my camera on a park bench to capture a moonlit scene, and it worked like magic!


