Location scouting can feel like a treasure hunt, where you discover the perfect backdrop that turns your filmmaking dreams into reality. First, think about what your story needs—are you shooting a spooky horror flick or a laugh-out-loud comedy? Next, hop onto Google Maps for some virtual snooping and make a list of potential locations; don’t forget to chat with locals for insider tips. Schedule visits, noting details like lighting and noise. Remember, accessibility and permits are essential—no one wants an adventure cut short by the lack of a restroom! With your locations picked, you’re ready for the next exciting step.
Important Highlights
- Begin by defining project needs and the ideal environment for the story’s setting.
- Use online tools like Google Maps to compile a preliminary list of potential locations.
- Schedule site visits to evaluate lighting, noise levels, and overall ambiance.
- Assess accessibility, parking, and safety features for crew and equipment.
- Confirm permits and permissions from property owners or relevant authorities.
Define Your Project Needs
Before you start scouting locations, it’s crucial to clearly define your project’s needs.
Imagine you’re planning a film about a superhero saving the day. You’ll need to think about the kind of environment that makes sense for your story. Is it a bustling city or a quiet suburb? Trust me, it’s way easier than trying to fit a skyscraper into a small-town setting later on!
Also, consider the safety of your crew and equipment. I’ve learned the hard way that filming near a busy street without proper permits isn’t just risky—it’s downright dangerous.
Make a checklist of critical features, like electricity access and restroom availability. This way, you’ll guarantee your set isn’t only perfect for your story but also safe for everyone involved.
Research Potential Locations
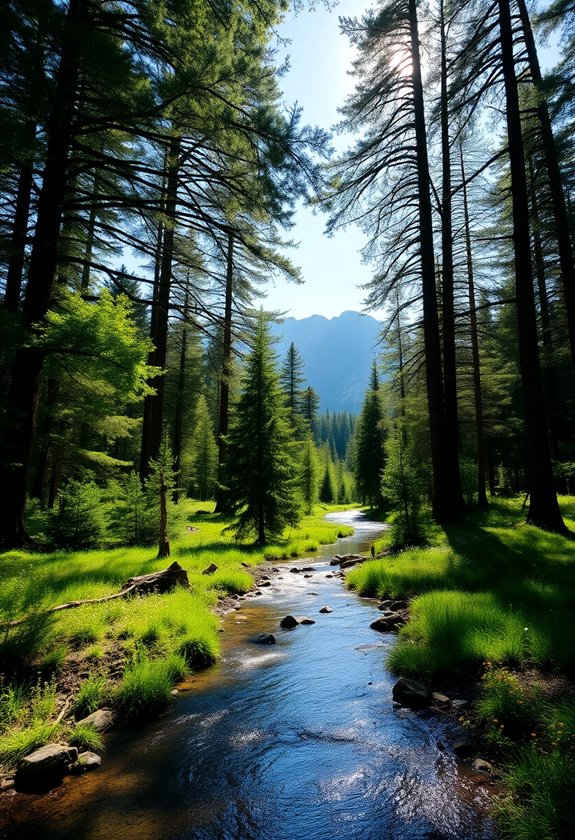
Now that you have a clear understanding of what your project requires, it’s time to explore potential locations. Start by researching online—Google Maps is your friend here. You can safely scout areas from your couch!
Check local forums or community groups for insider tips on places that might fit your needs. I once found a perfect park for a scene by chatting with a local online—it was like finding hidden treasure!
Don’t forget to take into account the weather and season; a rainy day could turn your dream location into a muddy nightmare.
Always prioritize safety by checking if the area is secure and accessible. Ask yourself: Is there enough lighting? Is the neighborhood safe?
These steps guarantee you’re making informed, secure choices.
Create a Location List
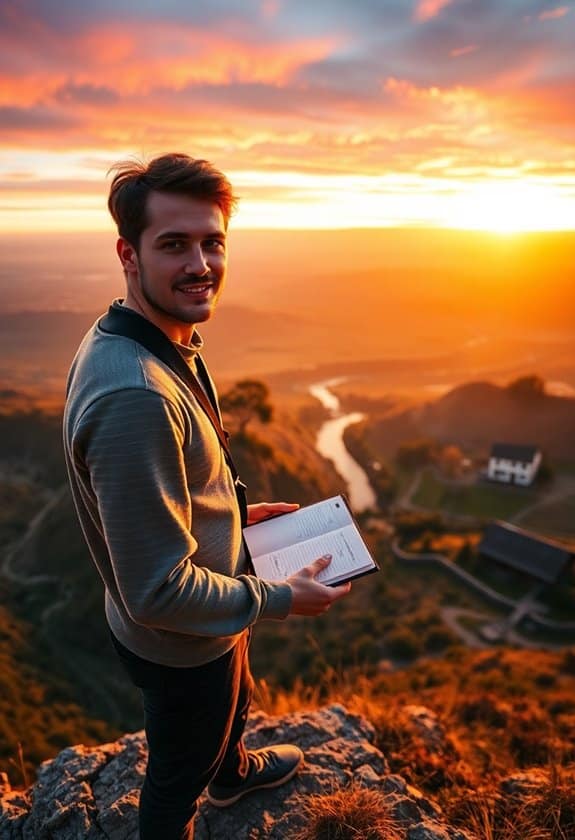
How do you start organizing all the potential locations you’ve discovered? Begin by creating a location list that keeps everything neat and tidy. It’s like making a treasure map, where each spot holds potential.
Start by listing every location you’ve researched, noting key details like address, safety features, and accessibility. Remember, safety first! Think about well-lit areas, emergency exits, and any potential hazards.
Even the coolest location isn’t worth a twisted ankle! My first scouting adventure taught me this the hard way—I ignored a slippery slope and ended up with mud-covered shoes.
Schedule Site Visits
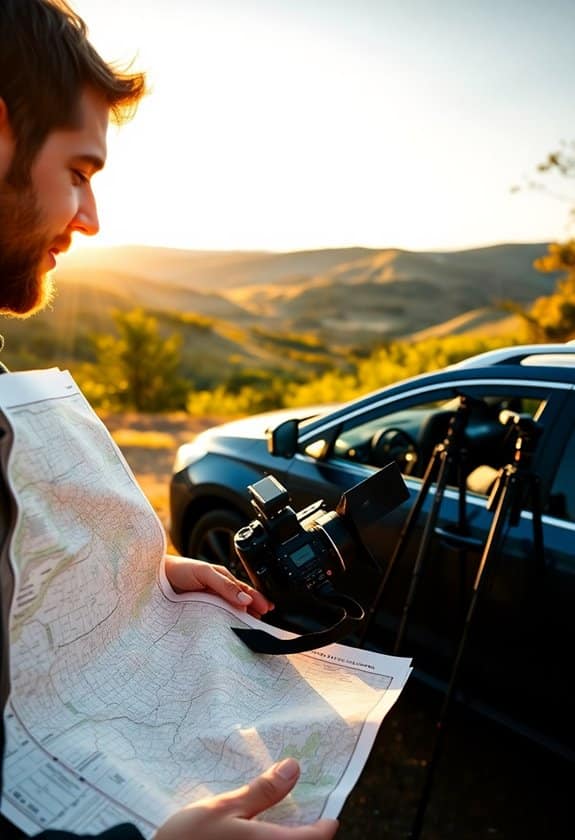
To truly understand a location’s potential, you’ve got to schedule site visits. There’s something magical about stepping into a space and seeing it all come together in your mind.
But first, grab a parent or a buddy—safety in numbers, right? When you visit, take notes on lighting, noise, and how it feels to be there. Trust me, your future self will thank you!
Bring a camera to snap photos and a notebook for jotting down those “aha!” moments. Don’t shy away from asking locals about the area; they’ve got stories and tips that Google can’t match.
Also, wear comfy shoes and pack some snacks—you never know how long you’ll be exploring. Remember, a little preparation goes a long way!
Evaluate Accessibility

Evaluating a location’s accessibility is essential for guaranteeing your project runs smoothly.
Think back to the time when you’d had to lug heavy equipment up a hill. Not fun, right? To avoid such headaches, consider a few key aspects:
- Parking Availability: Guarantee there’s ample parking for your crew and equipment. Nothing worse than circling the block endlessly!
- Pathways and Entrances: Check if pathways are wide and entrances are easy to navigate, especially if you’re hauling gear.
- Public Transportation: Is the location reachable by bus or train? It’s a lifesaver if some team members don’t drive.
- Safety Measures: Look for well-lit paths and exits in case you’re working late. Safety first, always!
Assess Lighting Conditions
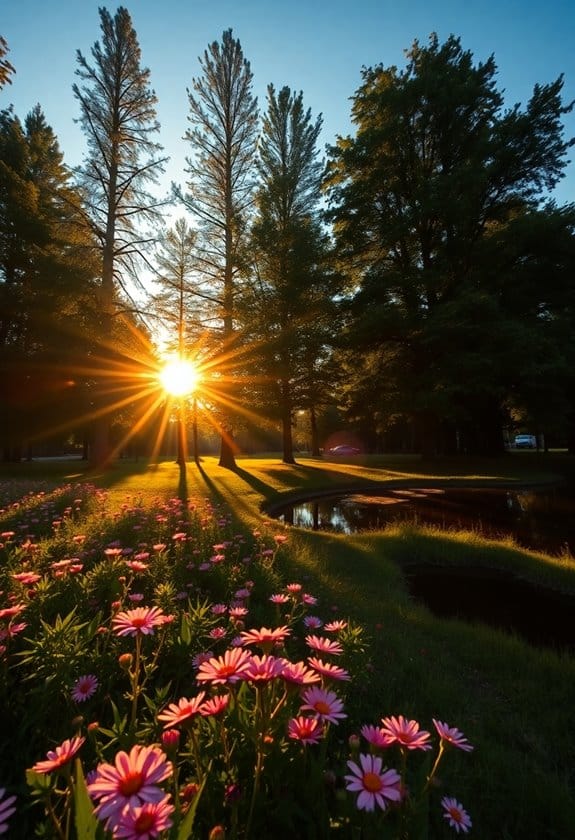
While accessibility guarantees smooth logistics, lighting conditions make or break the visual impact of your project. Imagine shooting a scene with perfect dialogue, only to find it’s too dark or too bright!
You’ll want to visit your location at the same time you’ll be filming. Notice how the light changes throughout the day. Is it too harsh, casting unwanted shadows? Or perhaps it’s too dim, making everything look dull?
Remember, natural light is your best friend, but it can be unpredictable. Carry a notebook, jot down your observations, and take a few test shots. This way, you’ll know if additional lighting or adjustments are necessary. Utilizing tools like softbox lights can enhance your lighting setup for more controlled conditions.
Trust me, understanding light can turn a good film into something truly magical!
Check for Permissions
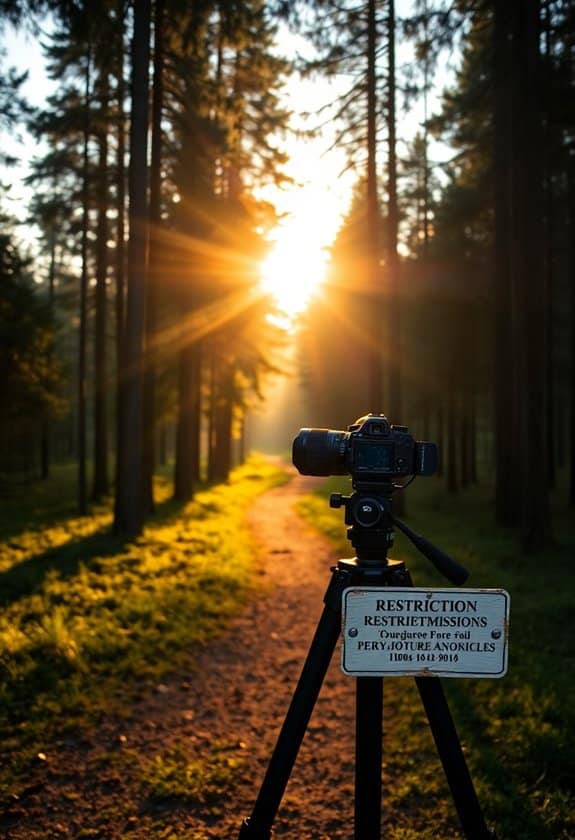
Before you start filming at any location, it’s essential to check for permissions—because without them, your entire project could come to a sudden halt.
Imagine setting up your camera, only to be asked to leave by a security guard! To avoid this, always do your homework.
Start by identifying who owns the property. Sometimes it’s private, other times public. You’ll need to:
- Contact local authorities to find out if you need a permit.
- Reach out to property owners for private locations.
- Review any restrictions related to filming, like noise or time limits.
- Document everything to guarantee you have proof of permission.
Getting permission may seem like a hassle, but it guarantees a smooth shoot and keeps everyone safe and sound.
Consider Weather Impacts
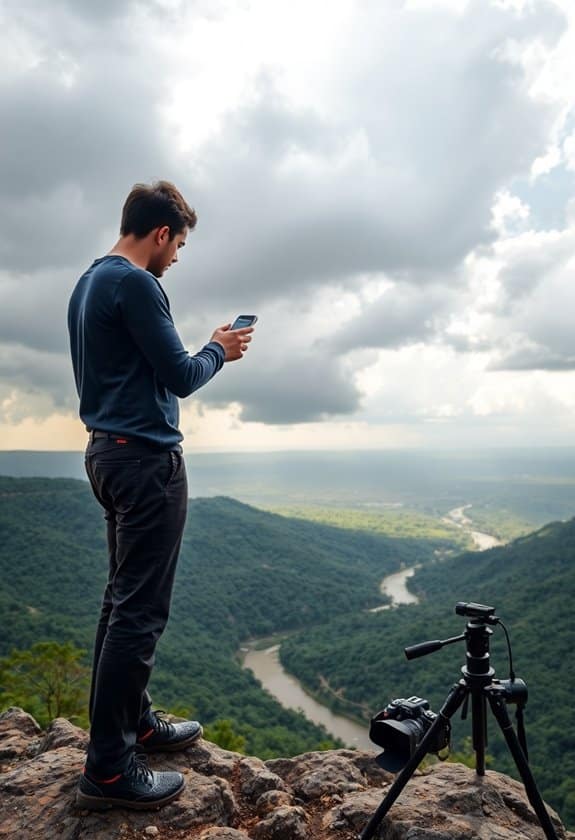
When planning a shoot, think about the weather and how it could affect your project. The weather’s like that one unpredictable friend—sometimes sunny and perfect, other times, not so much.
It’s important to check forecasts ahead, but also plan for unexpected changes. Rain can make everything slippery, which isn’t safe for you or your equipment. The wind might mess up your sound or blow things over.
Once, I was on set with a surprise rainfall that turned our location into a muddy mess! Always pack extra gear like umbrellas and waterproof covers.
If it’s going to be hot, make sure everyone stays hydrated. Remember, a little preparation and a good sense of humor can turn weather challenges into memorable stories.
Capture Reference Photos
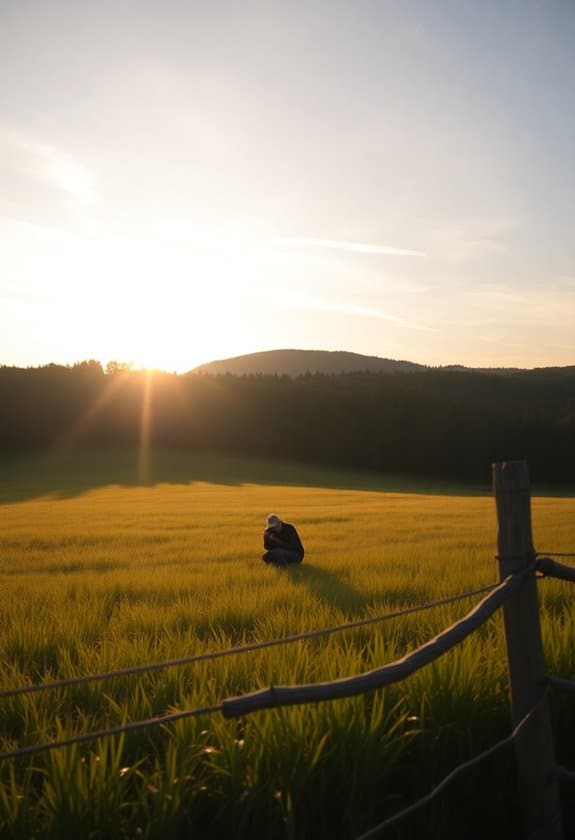
Capturing reference photos is an essential step in location scouting that helps you visualize your shoot. It gives you a sneak peek into how your scenes might look, allowing you to make informed decisions.
When you’re out there snapping away, remember these handy tips:
- Safety First: Always be aware of your surroundings. Snap photos safely without putting yourself in risky spots.
- Lighting Matters: Capture the location at different times to understand how natural light interacts with the setting.
- Angles and Perspectives: Try various angles to see what works best for your vision. You’ll be surprised by what you discover!
- Details, Details: Don’t forget the little things. Capture the textures, colors, and unique features to help you recall specific details later. Additionally, consider how the equipment compatibility might affect your shoot’s logistics, ensuring that all your gear functions seamlessly in the location.
Happy scouting!
Finalize Your Location Choices
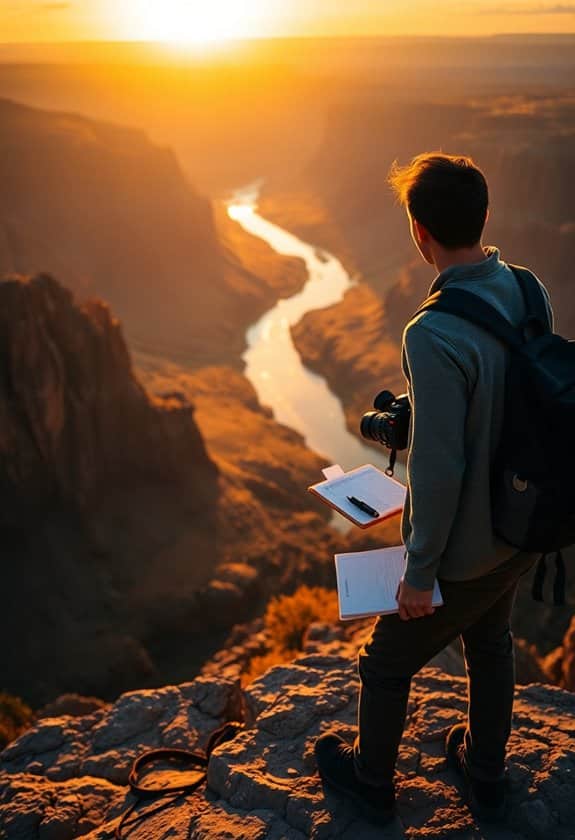
Now that you’ve armed yourself with a collection of reference photos, it’s time to focus on narrowing down your options and making final decisions about your shooting locations.
Think about safety first—consider factors like accessibility, weather conditions, and whether the area is well-lit and secure. Remember the time you almost picked that creepy alleyway? Dodged a bullet there!
Compare your options to your project needs, keeping your story’s mood in mind. You want your audience to feel safe and engaged, not like they’re watching a horror movie when it’s meant to be a comedy.
Trust your instincts, but also ask friends or mentors for their thoughts. It’s like picking a pet—choose wisely because your location shapes your project’s atmosphere.
Frequently Asked Questions
How Do I Budget for Location Scouting Expenses?
Budgeting for location scouting can be a fun challenge!
Start by listing obvious costs like travel, accommodation, and meals.
Don’t forget hidden ones like permits or unexpected repairs.
Always have a cushion for emergencies—things rarely go as planned!
When I started, I underestimated costs and learned the hard way.
Keep track of every penny to stay safe, and maybe set aside a treat fund for those long days on the road.
What Essential Gear Should I Bring on a Scouting Trip?
When you head out for location scouting, pack your essentials to guarantee a smooth trip.
Start with a reliable camera or smartphone to snap pictures, a notebook for jotting down ideas, and a GPS or map app to navigate unfamiliar terrain.
Don’t forget comfortable shoes and weather-appropriate clothing, because you never know when a sunny day might have a surprise rain shower.
Snacks and water keep you energized and focused, too.
How Can I Effectively Communicate With Location Owners or Managers?
When talking to location owners or managers, be friendly and respectful. Imagine you’re chatting with your neighbor.
Start by introducing yourself and explaining your project. Always ask about any rules or concerns they might have.
Share your passion for your work, it’s contagious! If they’re hesitant, offer to address any safety concerns.
Humor can break the ice, but stay professional.
What Tips Can Help Me Negotiate Fees for Using a Location?
When you’re negotiating fees for a location, be friendly and transparent.
Start by discussing your project’s budget, so they know where you’re coming from. It’s always helpful to explain how their location adds magic to your film—it makes them feel special!
Don’t forget to mention any benefits they might gain, like publicity.
How Do I Organize and Store Location Scouting Notes and Photos Efficiently?
To keep your location scouting notes and photos organized, use a digital app like Evernote or Google Keep. They let you create folders for each project, so you won’t lose anything important.
Snap photos and jot down details, like lighting and safety aspects. Trust me, it’s easier than carrying around a notebook!
I once forgot where I took some amazing shots, and this system saved me. It’s like having a digital scrapbook!


