Hey there, budding filmmakers and photographers! Let’s talk about lighting tips that transform your shots from meh to magnificent. Start by embracing natural light; catch the stunning golden hours just after sunrise or before sunset, when everything glows like magic. Feeling adventurous? Try artificial light with lamps or flashlights, and watch shadows dance as you experiment with angles. Don’t forget the trusty reflectors—they bounce light, making subjects pop without much fuss. Keep shadow battles at bay with fill lights or by bouncing light off walls. Craving more tricks and tales? You’re about to uncover the secrets that make filming truly shine.
Important Highlights
- Utilize natural light during the golden hours for soft, flattering images.
- Experiment with simple artificial lights, like desk lamps, for creative effects.
- Use reflectors to bounce light and enhance subject visibility.
- Diffuse harsh sunlight with diffusers for even lighting conditions.
- Control shadows with fill lights and by bouncing light off surfaces.
Understand Natural Light
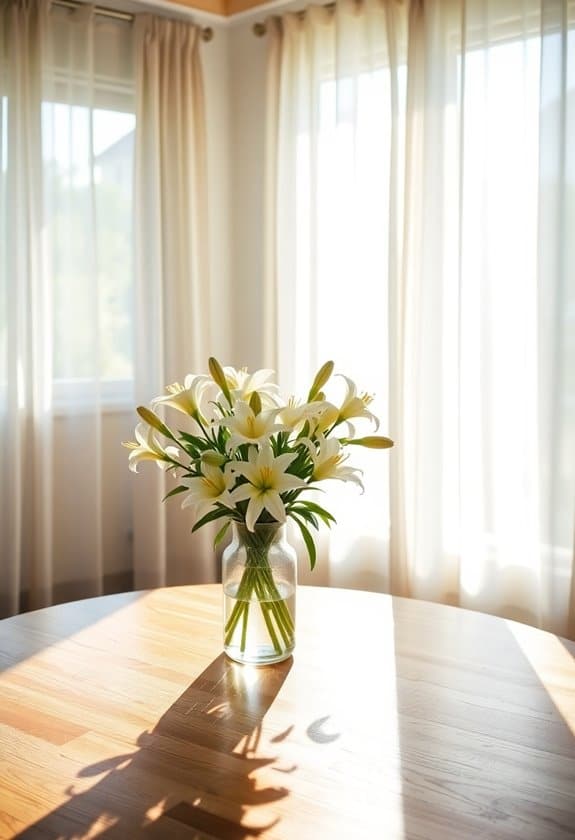
When you’re just starting out, understanding natural light can make all the difference in your photography or videography.
It’s like having a friendly helper that doesn’t require batteries. Imagine the sun as your personal spotlight—free and always available!
But here’s the trick: the best time to capture magic is during the golden hours, just after sunrise or before sunset. The light is softer, casting warm, inviting hues that make everything look dreamy.
Be mindful of harsh midday sunlight; it can create stark contrasts and unflattering shadows.
I once filmed a project at noon, thinking the bright light would be perfect, but ended up with squinty eyes and harsh shadows.
Lesson learned—stick to safe, soft lighting, and your shots will shine! Additionally, investing in top lighting gear choices can enhance your ability to control lighting conditions for more consistent results.
Experiment With Artificial Light
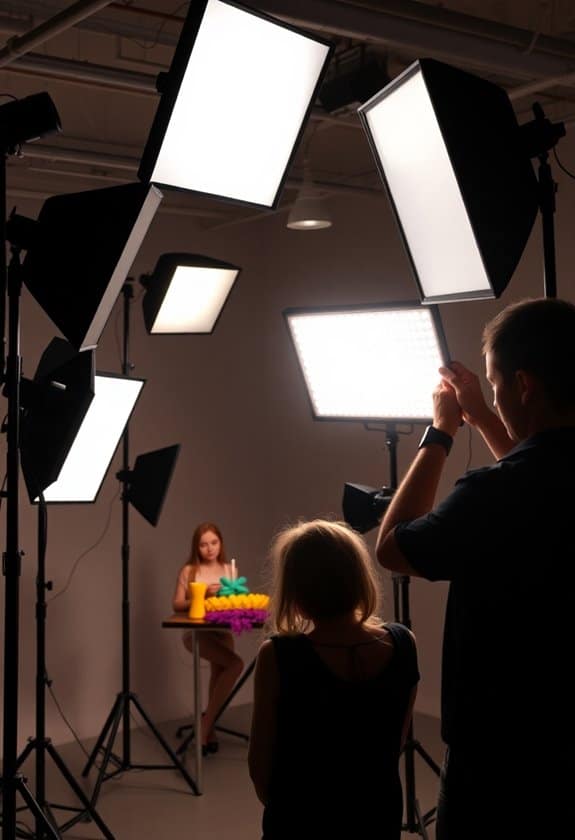
Natural light’s charm is undeniable, but artificial light offers a playground for creativity and control that’s hard to match.
Imagine this: you’re filming a scene in your room, and the sun’s decided to play hide and seek. With artificial lights, you can create a consistent atmosphere, making your life a whole lot easier.
Start by using a simple desk lamp or a flashlight. It might sound funny, but experimenting with angles and distances can reveal surprising effects.
Remember, safety first—avoid overloading sockets and keep lights away from flammable materials.
Once, I nearly melted my favorite action figure while trying to create a “dramatic” shadow. Learn from my mistakes and have fun exploring the endless possibilities artificial lighting can offer! Using tools like the Etekcity 5-in-1 Reflector can help you manipulate light effectively for various scenes.
Master the Golden Hour
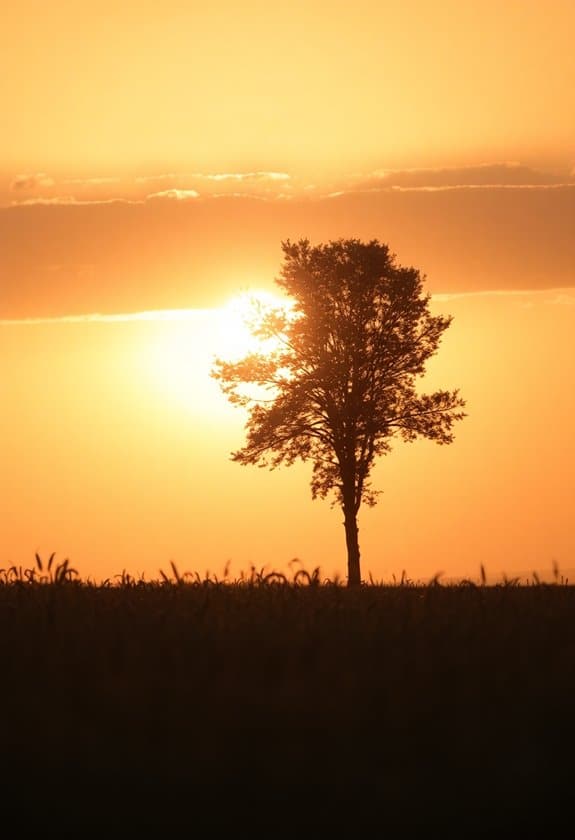
Ah, the golden hour—it’s every photographer’s dream. This magical time just after sunrise and before sunset bathes everything in a warm, soft glow.
It’s like nature’s gift to photographers, lighting your scenes with stunning hues. But how do you make the most of it safely?
- Plan ahead: Check the times for your location, so you won’t miss it!
- Scout your spot: Visit your shooting location beforehand; safety first—ensure well-lit paths and no tripping hazards.
- Bring a buddy: It’s safer and more fun with a friend, plus, they can help carry gear.
I remember my first golden hour shoot—stumbling through a field, mesmerized by the light.
It’s also a great idea to consider top portable lighting options to enhance your shooting experience even further.
It was worth every step. Embrace this time and capture those breathtaking moments!
Use Reflectors and Diffusers
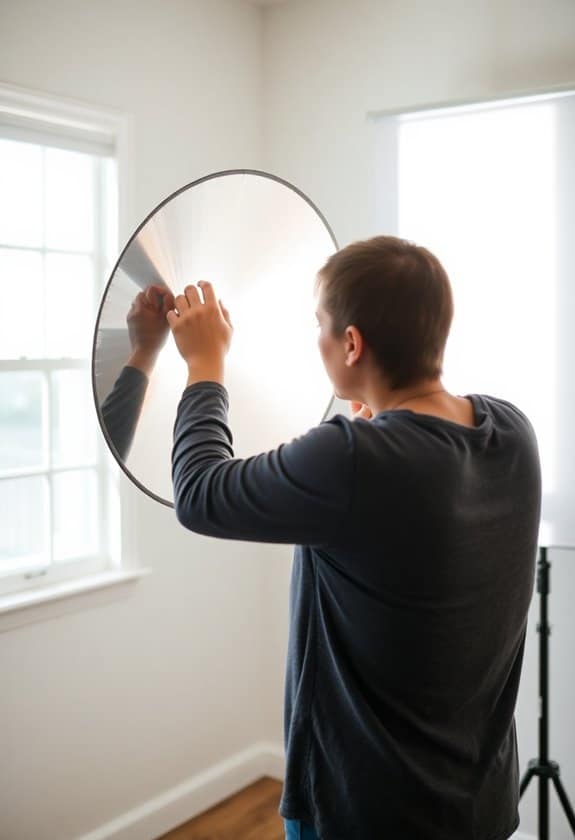
Capturing the magic of the golden hour is just the beginning; enhancing your shots with reflectors and diffusers takes your photography to the next level.
Imagine you’re out in a park, and the sun’s setting behind you, casting your subject in shadows. Instead of packing up, grab a reflector. It’ll bounce light back onto your subject, creating a safe, warm glow without needing extra equipment. Reflectors come in silver, gold, and white, each adding a unique touch.
Now, let’s talk diffusers. They soften harsh sunlight, creating a gentle, even light. Think of them like sunglasses for your camera.
Once, I used a diffuser during a family picnic shoot, and it turned a squinty mess into a serene scene. Experiment, and you’ll see the magic unfold!
Control Shadows and Highlights
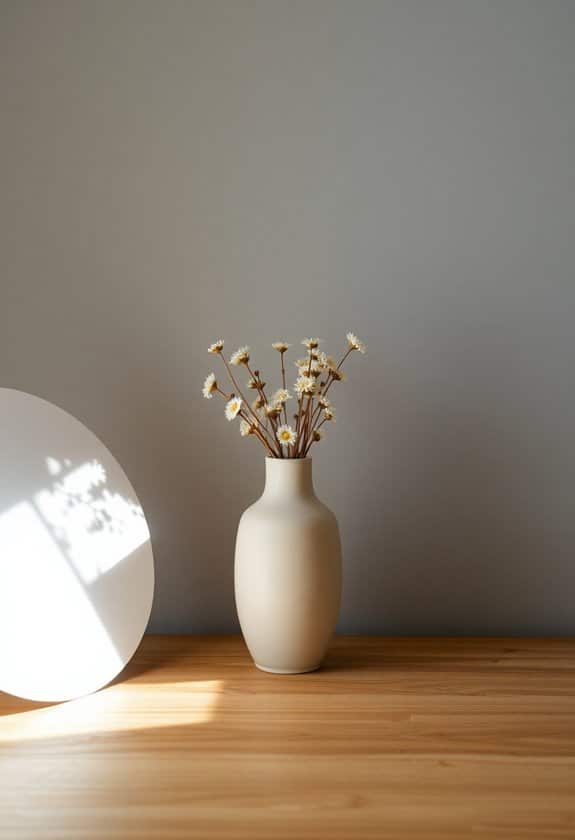
Shadows create depth, giving your photos a mysterious vibe, while highlights draw the eye to important details. Here’s how you can do it safely and effectively:
- Use a fill light: It softens harsh shadows, making your subject pop without looking too spooky.
- Try bouncing light: Aim a light source at a white wall or reflector to spread light evenly, reducing sharp contrasts.
- Adjust your camera settings: Tweak the exposure or use HDR mode to balance bright and dark areas. Additionally, consider using soft diffusion techniques to further enhance the quality of light in your photographs.
Frequently Asked Questions
How Do I Choose the Right Light Bulb for Indoor Photography?
Choosing the right light bulb for indoor photography can be exciting!
You’ll want to go for LED bulbs labeled as “daylight” or “cool white” to mimic natural light, which keeps colors true and your photos looking sharp.
Avoid regular incandescent bulbs—they can make everything look yellowish.
It’s like choosing the right outfit for picture day: you want to look your best!
Experiment and see how different bulbs change your scene.
What Are Some Budget-Friendly Lighting Equipment Options for Beginners?
You’re just starting, and lighting can seem expensive but don’t worry, there are budget-friendly options.
Try using LED panels; they’re affordable, portable, and won’t overheat.
Ring lights are great for even lighting and selfies.
Reflectors can bounce natural light, adding depth.
I once used a desk lamp with parchment paper for a soft glow.
Keep it safe—avoid using anything that could catch fire.
Experiment, learn, and have fun!
How Can I Avoid Lens Flare in Bright Lighting Conditions?
You’re shooting in bright light, and those pesky lens flares show up, right?
Here’s a trick: use a lens hood. It’s like a little sunhat for your camera, blocking out unwanted light.
If you don’t have one, your hand can work in a pinch—just be careful not to photobomb your own shot!
Shooting at an angle can also help. Once, I tried that, and it saved my perfect sunset scene.
Give it a shot!
What Settings Should I Use for Low-Light Photography?
Imagine you’re capturing a cozy campfire scene. Set your ISO higher, like 1600, to let more light in.
Open your aperture wide, maybe f/2.8, to capture more of that warm glow.
Keep your shutter speed slower, around 1/60, but steady hands or a tripod are key to avoid blur.
Balancing these settings makes your photo safe and stunning, capturing every flicker and smile perfectly, without losing the magic of the moment.
How Do I Balance Different Color Temperatures in a Single Shot?
Balancing different color temperatures can feel like a science experiment, but it’s manageable!
Start by identifying the light sources in your scene. Use gels to match colors or adjust your camera’s white balance settings.
Mixing warm and cool lights can create a unique atmosphere, like combining candlelight and moonlight. It’s like painting with light!
Practice makes perfect, and trust me, even pros have funny stories of accidentally orange-skinned subjects.


